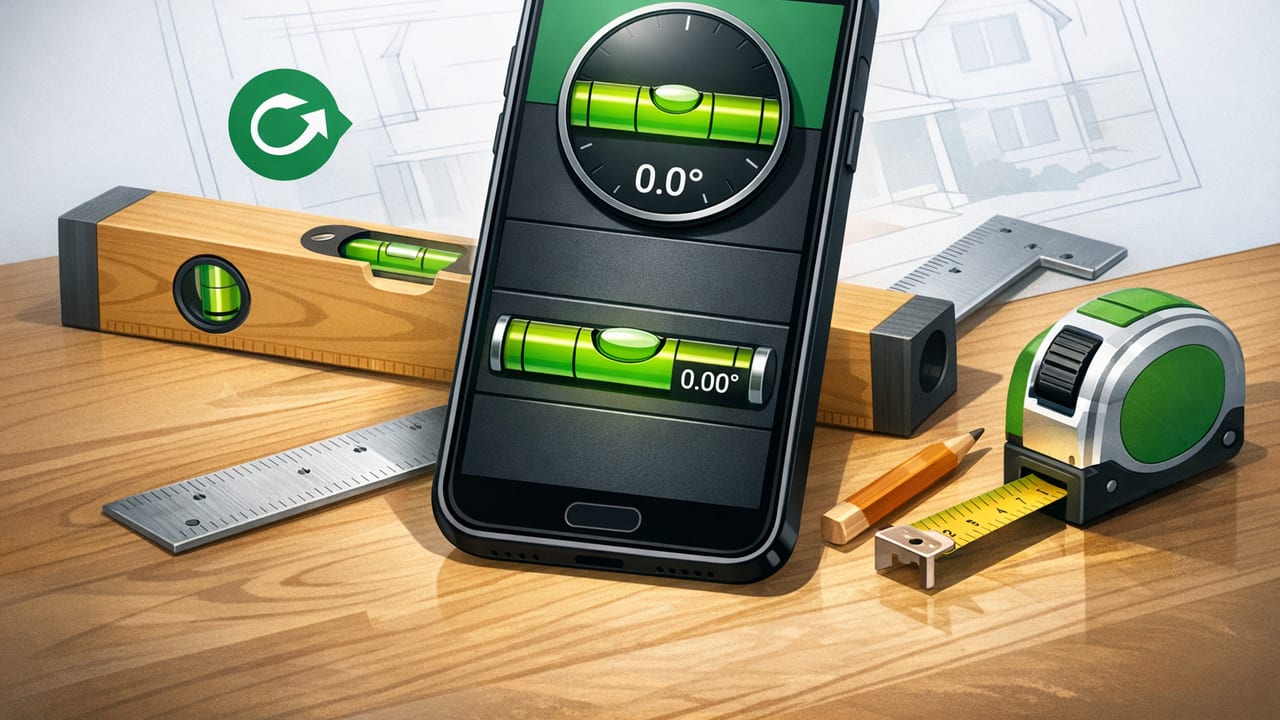
A carpenter level app can be a surprisingly capable companion for everyday layout, alignment, and quick verification—especially when you’re moving between tasks like hanging doors, setting cabinets, squaring frames, or checking slopes. Modern iPhones include sensors (accelerometers and gyroscopes) that can detect tilt with high resolution, and a well-designed level app can translate that into readable level (0.0°), plumb (90.0°), and slope/angle measurements.
This guide explains how a carpenter level app works, when it’s appropriate to use, how to improve accuracy, and practical workflows you can use for DIY and professional carpentry—without relying on cell service.
What a carpenter level app does (and what it doesn’t)
At its core, a carpenter level app turns your iPhone into a digital spirit level and often an angle finder (inclinometer). Depending on the app, you may also get dual-axis readouts (front-to-back and left-to-right) and visual guidance like target lines or haptic feedback.
Common carpenter-friendly use cases
- Leveling shelves, countertops, appliance pads, and cleats
- Plumbing studs, posts, door jambs, and cabinet sides
- Setting consistent slopes for shower pans, exterior sills, deck drainage, and ramps
- Matching angles for trim work, handrails, and non-standard cuts
- Verifying flatness across short spans (spot checks)
Where a phone level should not replace your dedicated tools
- Long-span leveling (e.g., framing walls, long joists): use a long spirit level, laser level, water level, or string line
- High-precision installations (e.g., machine leveling): use calibrated instruments
- Rough surfaces where the phone can’t seat consistently (uneven lumber edges, textured stone)
Think of your phone as a fast, portable check tool—excellent for verification, setup, and repeatability on small-to-medium tasks.
How iPhone leveling works (in plain terms)
An iPhone measures orientation using motion sensors. A carpenter level app takes those sensor readings and displays them as:
- Degrees (°): e.g., 0.0° for level, 90.0° for plumb
- Percent grade (%): common for slope work (e.g., 2% slope)
- Rise/run equivalents in some apps (useful for layout)
Jobsite takeaway: Your app isn’t “looking” at the world—it’s measuring the phone’s tilt. Accuracy depends on how well the phone is seated against the reference surface.
Accuracy basics: what affects results the most
Most “bad readings” come from setup, not the sensors. Focus on these four factors:
1) Calibration (do this first)
Before trusting any carpenter level app, calibrate it on a stable, known reference:
- Place the phone on a flat, rigid surface (a countertop, a verified level plank, or a table saw top).
- Set the app’s reading to 0.0° if the app supports calibration.
- Rotate the phone 180° in the same spot and check if it still reads 0.0°.
- If not, recalibrate and repeat until the reading is consistent.
This “flip test” helps cancel out minor sensor bias and seating differences.
2) Seating and contact area
Your phone must sit flush against the reference surface. Cases with rounded edges, camera bumps, or thick grips can introduce tilt. If you need better contact:
- Remove the case temporarily.
- Use a flat accessory (like a small straightedge) to create a consistent reference.
- Avoid resting the phone on debris, sawdust, or fasteners.
3) Surface quality
Warped lumber, crowned studs, or textured surfaces can fool any short level—digital or analog. Move the phone to multiple points and compare.
4) Environmental handling
Don’t take readings while the phone is shifting. Let it settle for a moment, and keep your hands from “torquing” the phone against the surface.
Best practices carpenters actually use
Use “relative zero” for repeatable angles
One of the most useful digital features is relative measurement (often called “zero,” “set baseline,” or “hold”). Example: matching an existing stair stringer angle.
- Place the phone on the existing angle.
- Set that as 0.0° (baseline).
- Move to your cut piece and adjust until the app reads 0.0° again.
This avoids converting odd angles into miter-saw settings manually.
Check level/plumb at two heights
When plumbing a jamb or post, measure near the bottom and near the top. If one reads plumb and the other doesn’t, the material may be bowed or the contact point is inconsistent.
Prefer dual-axis readouts for setting cabinets and appliances
Cabinet bases and appliances often need both left-right and front-back alignment. Dual-axis leveling lets you correct twist faster than a single-bubble indicator.
Use slope/grade for drainage tasks
For exterior work, slope is often specified as a percentage. A common benchmark is 2% slope (about 1/4" per foot) for drainage in certain applications—always confirm local codes and project specs.
Quick reference: features that matter in a carpenter level app
| Feature | Why it matters for carpentry | Best for |
|---|---|---|
| Calibration / flip test support | Reduces sensor bias and improves repeatability | Any job where accuracy matters |
| Dual-axis level | Shows twist and tilt at once | Cabinets, appliances, benchtops |
| Angle finder (degrees) | Matches odd angles without guesswork | Trim, rails, remodeling |
| Percent grade | Communicates slope in drainage-friendly terms | Decks, thresholds, ramps |
| Hold / lock reading | Lets you move the phone and still read the value | Tight spaces, overhead checks |
| Offline functionality | Works in basements, jobsite dead zones, remote builds | Field work |
Step-by-step: three carpentry workflows using a phone level
Workflow 1: Hanging a shelf bracket plumb and level
- Find your reference: use the wall surface (or a straight board held to the wall).
- Plumb the first bracket: place the phone along the bracket’s vertical leg and adjust until it reads 90.0° (or 0.0° depending on app orientation).
- Level across brackets: place a straight board across both bracket seats and level that board with the phone.
- Verify after fastening: screws can pull hardware slightly—re-check.
Workflow 2: Setting a consistent slope on a shower curb or sill
- Decide the target slope (confirm specs).
- Switch the app to % grade or degrees.
- Shim or plane until the phone reads the target across the surface.
- Measure at multiple points to confirm the surface isn’t twisted.
Workflow 3: Matching an existing angle for trim
- Place the phone on the existing trim/run and use relative zero.
- Place the phone on your new piece and tilt it until it returns to 0.0°.
- Transfer that angle to your saw setup (or use the phone as a reference while setting a bevel gauge).
Tips to get more reliable readings (without buying new tools)
- Use a straightedge: A short level or aluminum rule can provide a better reference than a rough board edge.
- Measure twice, shift once: Take readings, move the phone slightly, and confirm the value repeats.
- Mind the camera bump: If the phone rocks, flip it screen-down with a protective mat, or remove the case.
- Keep the screen readable: Increase brightness for outdoor use; a good UI matters when you’re making micro-adjustments.
- Use “hold” in awkward places: Great for overhead checks or inside cabinets.
Logging angles and measurements (simple field notes)
If you document settings for repeat jobs (like a run of custom shelves), it helps to record the target angle/slope and where it was measured. A lightweight way is to standardize a note format you can paste into Notes.
Project: Mudroom built-ins
Reference: top cleat
Target: 0.0° level (dual-axis)
Reading: L-R 0.1° | F-B 0.0°
Location: left bay, front edge
Notes: shim rear-left 1 mm
This kind of log makes it easier to return later and understand exactly what was checked and adjusted.
FAQ: carpenter level app questions
Are iPhone level apps accurate enough for carpentry?
For many carpentry tasks, yes—especially short-span leveling, plumbing checks, and repeatable angles—if you calibrate and ensure solid contact. For long spans or critical tolerances, use dedicated leveling tools.
Should I use degrees or percent grade?
Use degrees for angle matching (trim, rails, bevels). Use percent grade for drainage and slope specs, since many building and landscape guidelines are written that way.
What’s the best way to calibrate quickly on site?
Do a fast flip test on a stable surface you trust (countertop, table saw top, or a verified straight board). If you change cases or drop the phone, re-check calibration.
Does a carpenter level app work offline?
Yes, the leveling function relies on device sensors, not the internet. Offline capability matters most for convenience and reliability on jobsites with poor reception.
Choosing the right carpenter level app: a practical checklist
- Calibration controls and easy reset
- Clear readouts (large digits, stable display)
- Dual-axis mode if you do cabinets/appliances
- Angle + % grade modes for broader use
- Offline-first design (no login required for core tools)
Above all, pick an app you’ll actually use consistently—speed and clarity often beat extra features you never open.
Conclusion
A carpenter level app won’t replace a long spirit level or a jobsite laser, but it can absolutely improve day-to-day efficiency: quick plumb checks, repeatable angles, slope verification, and fast troubleshooting when something “looks off.” Calibrate, seat the phone carefully, verify at multiple points, and treat the reading as a measurement of the phone’s orientation—not the entire surface.
If you prefer an offline iOS toolkit that bundles leveling with other field-friendly measurement options, Level Tool is one example that combines multiple instruments in one place.
