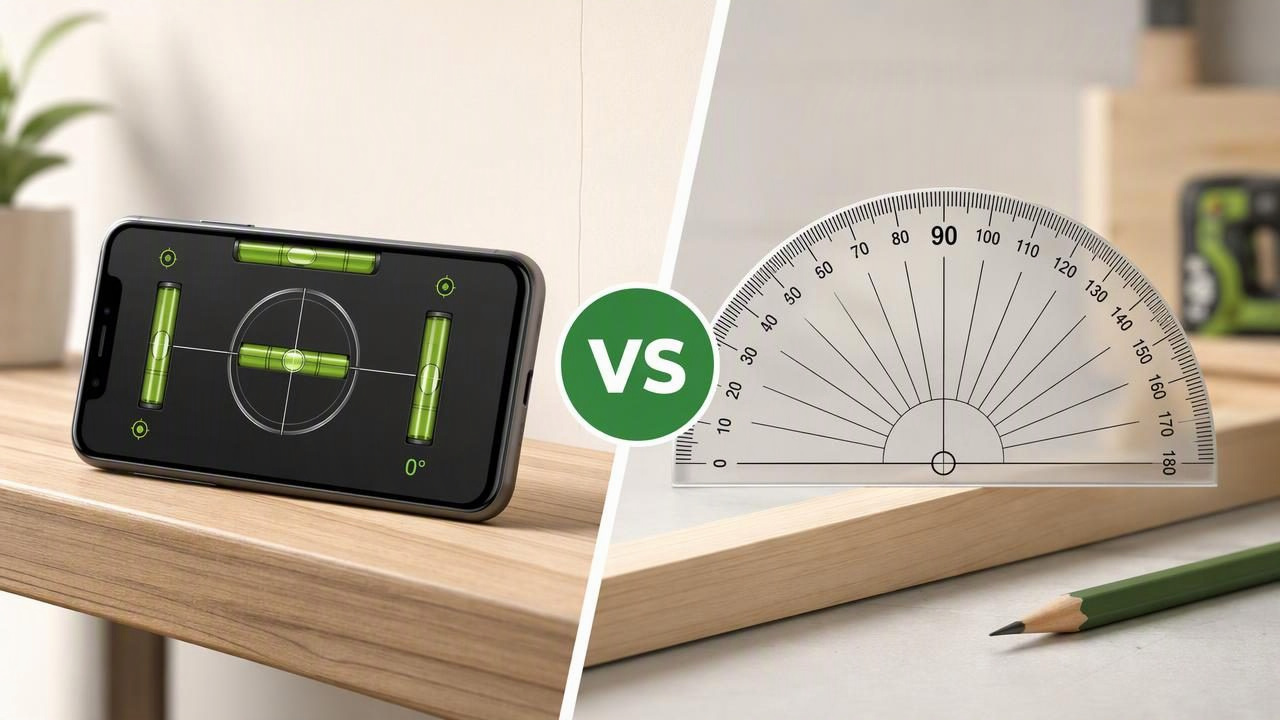
Choosing between a bubble level app vs protractor depends on the measurement you need to make. Although both tools can show an angle, they solve different DIY problems. A bubble level helps you determine whether a surface is level, plumb, or tilted by a specific amount. A protractor helps you measure or mark the angle between two lines, edges, or surfaces.
For example, if you are mounting a shelf, checking a countertop, or leveling a camper, a bubble level is usually the practical choice. If you are cutting trim at 45 degrees, laying out a triangular project, or checking the angle between two boards, a protractor is often more useful. An iPhone can make either task more convenient when you understand how its sensors work and where their limits are.
This guide explains the real differences, when to use each option, and how to get repeatable results from a bubble level app on an iPhone.
Bubble Level App vs Protractor: The Core Difference
A traditional bubble level uses a liquid vial and air bubble. When the bubble sits between marked lines, the tool is level. Digital level apps use motion sensors in an iPhone to estimate tilt and display it as degrees, percent slope, or a level indicator.
A protractor is designed around geometry. It measures an angle from a reference line, often from 0 to 180 degrees. A physical protractor can be placed over a drawing or workpiece, while a digital angle meter can show the tilt of a surface relative to a chosen reference.
| Tool | Best For | Typical Reading | Important Limitation |
|---|---|---|---|
| Bubble level app | Checking level, plumb, slope, and tilt | Degrees, level indicator, percent slope | Needs stable contact with the measured surface |
| Physical bubble level | Long edges, framing, shelves, cabinetry | Centered bubble | Cannot easily show every custom angle |
| Protractor | Drawing, layout, angle marking, joinery | Degrees between lines | May be awkward on large or uneven surfaces |
| Digital angle meter | Checking bevels, saw settings, and slopes | Degrees from a reference | Requires a reliable zero reference |
When a Bubble Level App Is the Better Choice
A bubble level app is especially useful when the question is, “How far from level is this?” Rather than simply showing that a surface is off, an angle display can show the direction and amount of tilt. That is helpful when you need a controlled slope instead of perfect level.
Common uses include:
- Checking whether a picture frame, floating shelf, or wall-mounted accessory is level.
- Verifying that a washing machine, workbench, or table is not rocking because of an uneven floor.
- Checking the side-to-side and front-to-back position of an RV or camper.
- Setting a slight drainage slope on an outdoor surface or tray.
- Comparing the tilt of two boards before fastening them together.
The key requirement is actual contact. Place the iPhone flat against the surface, or rest it on a straight, clean reference edge that touches the surface. Holding the phone slightly above the material, looking at it from an angle, or measuring over a protruding screw head can introduce inconsistent results.
When a Protractor Is the Better Choice
A protractor is better when you need to create or inspect an angle formed by two lines. Think of it as a layout tool rather than a leveling tool. For instance, if you are drawing a 30-degree cut line on plywood, a protractor gives you a visible angle to mark. A bubble level app cannot replace that direct drawing function.
Use a protractor when you need to:
- Mark 45-degree, 60-degree, or other angles on paper, wood, or sheet material.
- Check the included angle of a template or triangular piece.
- Lay out simple geometry for crafts, woodworking, or school projects.
- Transfer an angle from one flat workpiece to another.
For a miter cut, the distinction matters. A protractor can help identify the angle between two walls or boards. An angle meter or bubble level app can help check whether a saw table, bevel guide, or workpiece is tilted from a known reference. These are related tasks, but they are not identical measurements.
How iPhone Angle Measurements Work
An iPhone bubble level app relies on internal motion sensors to detect orientation. This makes it useful for measuring tilt relative to gravity, such as whether a shelf is horizontal or a post is vertical. However, the phone does not know whether your work surface is the intended reference unless you establish that reference yourself.
That is why calibration and repeatability matter more than chasing a single reading. Before a precision-sensitive job, place the phone on a surface you believe is stable. Note the reading, rotate the phone 180 degrees in the same spot, and compare the result. If the readings differ noticeably, the contact surface may be uneven, the phone case may be affecting contact, or the app may need calibration.
Practical rule: A reading is more trustworthy when you can repeat it after repositioning the phone and get nearly the same result.
Use a Clean Reference Surface
Phone cases, camera bumps, dirt, and curved edges can prevent full contact. Remove a bulky case if it stops the phone from sitting consistently. For narrow boards or surfaces with hardware, place a straight scrap board or known-flat straightedge across the area first, then measure that reference edge. This reduces the influence of local bumps and gaps.
Concrete DIY Example: Checking a Shelf and a Sloped Surface
Suppose you are installing a 900 mm floating shelf. First, hold a straightedge along the shelf surface. Place the iPhone flat against the straightedge and check the reading near the left side, center, and right side. If the numbers change significantly as you move along the shelf, the shelf may be bowed, the wall may be uneven, or the phone may not be contacting the same plane each time.
For a shelf intended to be level, adjust the mounting hardware until repeat checks show the same near-level result across the usable length. Do not rely on one reading at one point. Checking several positions reveals whether you have corrected the installation or only found one spot that happens to look level.
Now consider a plant tray that needs a small drainage slope. Here, “level” is not the goal. You might set the tray at a deliberate angle, then place the phone in the same orientation each time while adjusting supports. The app acts as an angle meter, while a protractor would be less convenient because you are measuring tilt relative to gravity rather than drawing two intersecting lines.
A Reliable Measurement Workflow
- Choose the right reference. Decide whether you need true level, vertical plumb, a specific slope, or an angle between two pieces.
- Inspect the contact area. Remove debris and avoid resting the phone on a raised edge, fastener, or uneven seam.
- Calibrate when needed. Follow the app’s calibration process on a stable reference surface before demanding work.
- Measure more than once. Repeat the reading after lifting and replacing the phone.
- Reverse the phone. Rotate it 180 degrees on the same surface to identify inconsistent contact or reference issues.
- Check multiple positions. Long shelves, countertops, and vehicle floors can vary from one end to the other.
Sound and haptic feedback can be useful when your attention is on a bracket, shim, or adjustment screw rather than the screen. Still, feedback should support your process, not replace visual confirmation and repeated measurements.
Important Limitations to Keep in Mind
An iPhone level is a convenient measurement tool, but it is not a substitute for every professional instrument or procedure. It cannot inspect hidden structural issues, determine whether a wall is straight, or guarantee that a surface meets a construction specification. It also should not be used as the sole basis for safety-critical decisions.
For very long spans, rough framing, or jobs that require documented tolerances, use an appropriate physical level, straightedge, or professional measuring instrument as well. A longer level bridges more of the surface and can reveal dips that a phone-sized contact area may miss.
Likewise, do not confuse an angle-reading tool with photo-based measurement or laser distance measurement. A level app measures the orientation of the phone when it is physically positioned against a reference. It does not automatically measure distant objects from an image, and it cannot perform automatic vehicle lifting or adjustment.
How to Decide Between the Two Tools
Choose a bubble level app when gravity is your reference: level shelves, vertical posts, appliance setup, slopes, and camper positioning. Choose a protractor when one drawn edge or workpiece must be measured against another: layouts, templates, and marked cuts.
Many DIY projects benefit from both. You might use a protractor to mark a 45-degree line on wood, then use an angle meter to verify the workpiece is resting at the intended tilt during assembly. The best tool is the one that matches the reference you are trying to control.
Frequently Asked Questions
Can a bubble level app replace a protractor?
Not completely. A bubble level app is stronger for measuring tilt relative to gravity. A protractor is better for marking and reading the angle between two visible lines or edges.
Can I use an iPhone bubble level on a wall?
Yes, provided the phone can rest flat and consistently on the wall. Avoid textured areas, trim, hooks, or protruding hardware. Repeat the measurement in more than one spot.
Why do I get different angle readings after moving my phone?
The surface may not be flat, the phone may not have identical contact, or the reference may need calibration. A case or camera bump can also change how the device sits against the workpiece.
Is a level reading enough for accurate DIY work?
For many everyday jobs, repeated readings and careful setup are useful. For demanding, long-span, or safety-sensitive work, confirm results with the suitable physical tool and follow relevant installation requirements.
For a practical walkthrough of reference setup, custom angles, and repeatable iPhone readings, see this guide from Level Tool on measuring angles with an iPhone.
