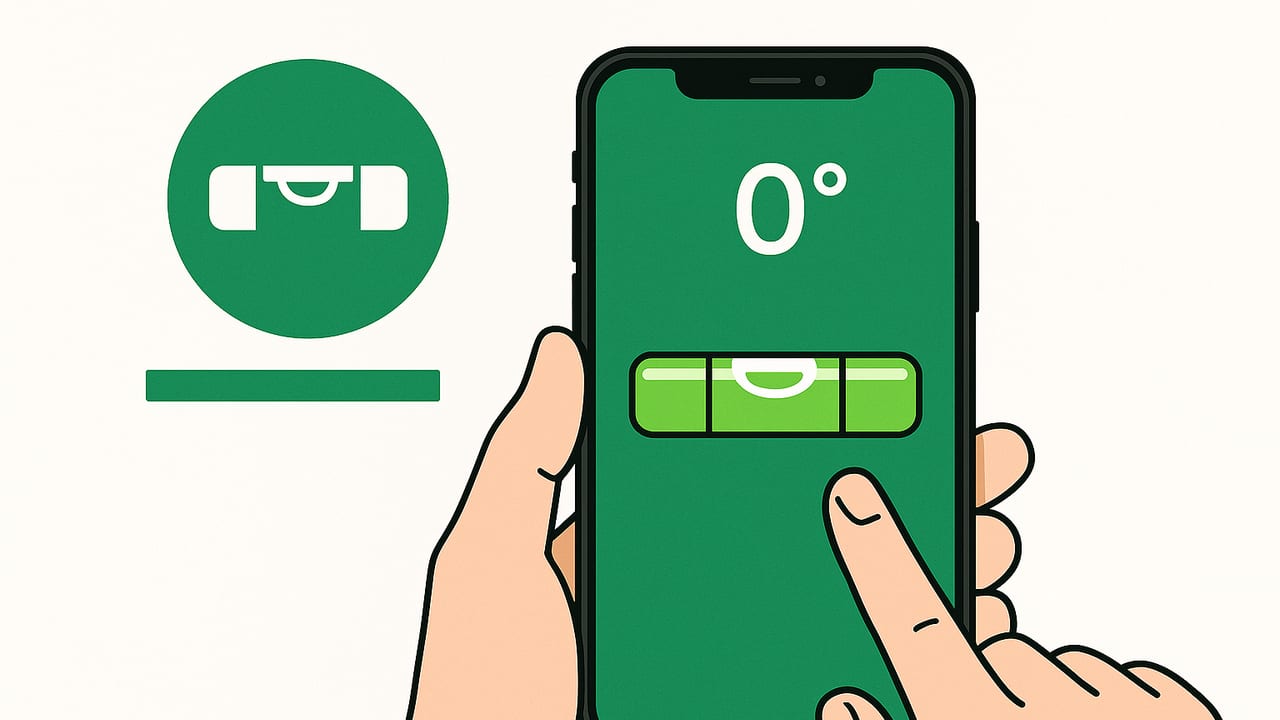
Looking for the best bubble level for iPhone DIY projects can feel overwhelming. Phone levels are convenient, always in your pocket, and capable of pro grade accuracy when used well. The catch is that accuracy depends on both hardware and app design, and the right feature set can make the difference between a straight shelf and a frustrating redo.
This guide shows how to evaluate iPhone bubble level apps, run quick accuracy tests at home, choose features that truly matter, and apply proven workflows for common projects like shelves, doors, tile slopes, and RV leveling.
How a phone level works
A bubble level app uses the phone’s motion sensors to measure tilt relative to gravity. The accelerometer senses the gravity vector and the gyroscope stabilizes rapid motion, while the app filters and fuses these signals to display pitch and roll. When the gravity vector is perfectly perpendicular to the surface you are checking, the reading is zero degrees. Clever interface design then turns these numbers into an easy bubble visualization, crosshairs, or large digits you can read across a room.
Because the sensors are solid state, results are consistent if you calibrate, use a flat reference edge, and avoid soft or uneven contact surfaces.
What makes the best bubble level for iPhone DIY
Best is not one size fits all. The right app should meet the tolerances of your task and provide feedback that makes work faster and more repeatable.
| Task | Typical tolerance | Practical tip |
|---|---|---|
| Hanging pictures | Plus or minus 0.5 deg | Use color change or beep at level for hands free placement |
| Floating shelves and cabinets | Plus or minus 0.2 deg | Dual axis view to control both left right and front back |
| Countertops over long spans | Plus or minus 0.1 to 0.2 deg | Place phone on a straightedge to average small surface bumps |
| Shower or patio drainage | About 2 percent slope, roughly 1.15 to 1.2 deg | Use a relative target, not level zero |
| Door jamb plumb | Plus or minus 0.1 to 0.2 deg | Use edge mode with a rigid reference stick if the jamb has trim |
| RV or camper leveling | Plus or minus 0.2 to 0.3 deg | Audible or haptic cue helps when you cannot see the screen |
Simple tests to rank iPhone bubble level apps
These repeatable checks let you compare accuracy, stability, and usability in minutes.
1. 180 degree reversal test
- Place the phone on a hard, flat surface with a defined edge and note the reading.
- Rotate the phone 180 degrees on the same spot and note the reading again.
In a perfect system, one reading is X and the other is minus X. Any midpoint offset indicates calibration bias. You can estimate bias with:
bias_deg = (reading1 + reading2) / 2
If bias is above about 0.1 deg, run the app’s calibration or zero function and retest.
2. Edge A versus edge B
- Place the left phone edge against a straight reference, such as a metal ruler.
- Zero the app if it supports relative zero.
- Flip to the right edge against the same reference and compare. Large differences suggest the case or edge is not perfectly flat; choose your flattest edge for critical work.
3. Shim sensitivity check
- Set the phone on a flat board.
- Place a credit card or similar thin shim under one short end.
- The reading should change by roughly 0.4 to 0.5 deg for a typical shim and phone footprint. You are looking for consistent, repeatable change rather than an exact value.
4. Stability and drift
- Watch the reading for 30 to 60 seconds. A stable app will settle within a few hundredths of a degree and stay there.
- If numbers creep, close background apps, keep the phone cool, and retest.
Pro tip: Magnetism does not affect the accelerometer that measures level, but a magnetic mount can flex or rock on thin steel. Always test your mounting method.
Calibration and reference techniques
Even the best bubble level for iPhone DIY tasks needs calibration against a known reference. There are two useful approaches.
- Absolute zero: Place the phone on a surface you trust as level and set zero. A granite counter or a long spirit level on horses makes a good reference.
- Relative zero: Set zero on a reference face of your workpiece, such as the underside of a shelf bracket, then match other parts to that face.
Use the flattest phone edge you have. Some cases have soft lips or camera bumps that rock the device. If your edges are uneven, place the phone on a rigid straightedge or a small aluminum level and reference that instead.
Features that matter in a phone bubble level
- Dual axis display: See pitch and roll at the same time to avoid fixing one axis while making the other worse.
- Hold and peak capture: Freeze a reading when you lift the phone or record the most level orientation you achieved.
- Audible and haptic cues: Beeps or taps at user set tolerances keep eyes on the work, not the screen.
- Color thresholds: Clear green at target and amber or red when out of tolerance reduces guesswork.
- Reference angle mode: Set a target like 1.2 deg for drainage and get guidance to that specific slope.
- Units you understand: Switch among degrees, percent grade, and millimeters per meter, or even inches per foot run.
- AR line or laser style guides: A projected line helps align long runs, tiles, and frames.
- Large digits and night mode: Readable across a room and in dim basements.
- Offline use and privacy: Reliable when there is no signal, with no tracking or ads to distract you.
- Logging and sharing: Save before and after readings, or share measurements in a punch list.
Step by step workflows for common projects
Hanging a shelf dead level
- Mark the approximate height for your first bracket.
- Place the phone on the bracket arm using its flattest edge. Use dual axis so you can see both tilt directions.
- Zero the app only if the bracket face itself is your reference. Otherwise, use absolute zero.
- Adjust the bracket until the display is within plus or minus 0.2 deg. Use hold to freeze the result as you tighten screws.
- Transfer the height to the second bracket with a straightedge or laser line. Place the phone on the second bracket and match the first using relative mode.
Setting a door jamb plumb
- Place a rigid straightedge along the jamb to avoid molding irregularities.
- Use edge mode with the phone against the straightedge. Aim for 0.0 deg with a tolerance of plus or minus 0.2 deg.
- Shim behind hinges or latch side as needed. Audible feedback helps while you hold shims and the jamb.
Creating the correct shower slope
- Target slope is commonly 2 percent toward the drain, roughly 1.15 to 1.2 deg.
- Set a reference angle of 1.2 deg in the app.
- Lay a straight batten on the pan and place the phone on it. Adjust mud until the display shows the target within plus or minus 0.1 deg.
Leveling a camper or appliance
- Place the phone on a known flat surface inside, like the stove or a shelf.
- Set tolerance beeps at plus or minus 0.3 deg for both axes.
- As you adjust jacks or feet, listen for tone changes. Use hold to confirm before and after.
Degrees, percent grade, and mm per meter
Knowing a couple of conversions makes slope work simple.
| Degrees | Percent grade | mm per m |
|---|---|---|
| 0.1 deg | 0.1745 percent | 1.745 mm per m |
| 0.2 deg | 0.349 percent | 3.49 mm per m |
| 1.0 deg | 1.745 percent | 17.45 mm per m |
| 1.2 deg | 2.094 percent | 20.94 mm per m |
Useful formulas:
percent = tan(deg) * 100
mm_per_m = tan(deg) * 1000
deg = arctan(percent / 100)
When a physical level is still better
Phone levels excel for compact jobs, slope targets, and quick checks. Use a long spirit level when you must bridge dips and crowns over a long span, or when your contact area is soft, irregular, or vibrating. You can also combine tools by placing the phone on top of a long level to get both reach and digital precision.
Troubleshooting accuracy issues
- Readings disagree after a flip test: Recalibrate on a known level surface, then retest.
- Numbers drift: Let the phone thermally settle, close other apps, and avoid charging heat during precise measurements.
- Edges feel wobbly: Remove soft cases or use a rigid straightedge as a carrier.
- Surface is textured: Average by placing the phone on a small board or level, not directly on tile or stone with ridges.
- Hands full problem: Enable audible or haptic feedback so you do not need to look at the screen.
At a glance: built in versus free versus pro apps
| Feature | Built in phone level | Typical free app | Typical pro app |
|---|---|---|---|
| Typical accuracy after calibration | Plus or minus 0.2 deg | Plus or minus 0.2 to 0.5 deg | Plus or minus 0.05 to 0.2 deg |
| Dual axis view | Often limited | Sometimes | Yes |
| Audible or haptic cues | Basic or none | Sometimes | Yes with thresholds |
| Reference angle target | No | Sometimes | Yes |
| AR line or laser style guide | No | Rare | Available |
| Data logging or sharing | No | Rare | Available |
| Offline and no ads | Yes | Often ad supported | Yes |
These are general patterns. Your exact results will depend on your device and how carefully you calibrate and reference.
Privacy and offline reliability
Workshops, basements, and job sites often have poor signal. An app that works fully offline with no tracking or subscriptions will be more reliable and distraction free when you are mid project.
Final checklist for choosing the best bubble level for iPhone DIY
- Passes the 180 degree reversal test after calibration
- Provides dual axis and large, readable digits
- Offers relative zero and target angle modes
- Has audible or haptic feedback with user set tolerances
- Lets you switch among degrees, percent, and mm per m
- Works offline with no distractions
- Feels stable on your chosen phone edge or straightedge
If you prefer an all in one, offline iOS measurement suite that includes a dual axis bubble level along with tools like a ruler, compass, barometer, and metal detector, consider Level Tool as a capable option.
