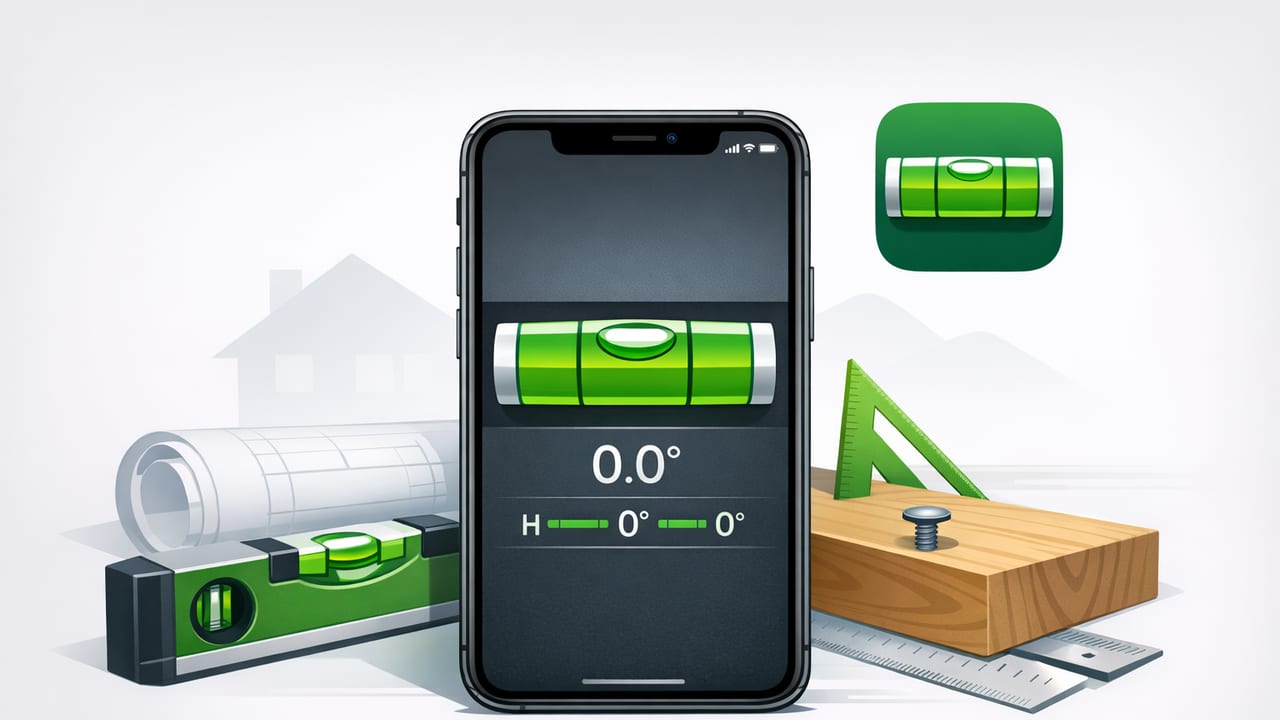
A bubble level app can be one of the most useful tools on your iPhone—if it’s accurate, consistent, and designed for real-world DIY and jobsite conditions. The challenge is that many apps look like a spirit level but don’t give reliable readings, don’t explain calibration, or rely on online features you don’t need when you’re in a garage, basement, or remote site.
This guide walks you through what matters when choosing the best bubble level app for iPhone, how to test accuracy at home, and which features actually help you hang shelves, set posts, square frames, or verify slopes.
What “best” means for a bubble level app (it’s not just the UI)
When people search for the best bubble level app, they usually mean: “Will it help me get things straight without guessing?” In practice, the best app is the one that is repeatable, calibratable, and easy to use in tight spaces.
Here are the core criteria that separate a novelty app from a tool you can trust:
- Repeatability: you get the same reading when you place the phone back in the same position.
- Calibration controls: you can zero the device to a reference surface.
- Dual-axis support: it can show left-right (roll) and forward-back (pitch).
- Clear “level/plumb” indication: obvious visual + optional sound/haptic alerts.
- Offline functionality: works without Wi‑Fi/cell service and doesn’t depend on accounts.
- Stability: readings don’t jitter excessively when your hand is steady.
How bubble level apps work on iPhone (and what can throw them off)
A bubble level app uses iPhone motion sensors (primarily the accelerometer and gyroscope, often via sensor fusion) to estimate orientation relative to gravity. In simple terms, it measures how gravity is “pulling” on the device and converts that into an angle or bubble position.
That means accuracy is influenced by:
- Calibration state: if the app assumes “flat” is different from your reference surface, your readings drift.
- Phone case and camera bump: a thick case, uneven back, or raised camera can prevent flush contact.
- Surface texture: rough lumber, stucco, or tile grout lines can tilt the phone.
- Temperature and motion: fast movements can momentarily bias readings; good apps dampen noise.
Practical takeaway: A bubble level app can be extremely useful, but you should treat it like any measuring tool: verify it, calibrate it, and use a consistent contact method.
Accuracy checklist: features to look for before you download
When comparing apps, use this checklist to quickly filter out weak options.
1) Calibration you can actually use
Look for a simple “calibrate” or “zero” step that sets the current orientation as your baseline. This is critical when you’re leveling on a surface that’s “known good” (like a verified countertop or a trusted physical level).
Tip: The best calibration flows are one-tap and don’t require repeating complicated steps every time you open the app.
2) Dual-axis leveling (2D) for real projects
Single-axis levels can help for a shelf, but dual-axis (pitch + roll) helps when you’re setting appliances, squaring a tool stand, or checking a tabletop. A 2D display also makes it easier to see if you’re “almost level” in one direction but significantly off in the other.
3) Numeric angle readouts for slope work
For tasks like setting drainage slope, ramp angles, or stair rail alignment, a numeric angle display (degrees) is more useful than a floating bubble alone. Even better if the app supports % grade or clear slope indicators.
4) Readability and feedback
On a jobsite, you might be in bright sun or awkward positions. Look for:
- High-contrast UI that’s visible outdoors.
- Hold/freeze so you can lock a reading and then look at it.
- Sound or haptic cues when you hit level or plumb.
5) Offline-first and no forced sign-in
A level should work anywhere: sheds, basements, cabins, and trails. Offline functionality is also a reliability feature—no ads failing to load, no login loops, no “server error” when you’re mid-project.
How to test a bubble level app at home (5-minute reliability test)
You don’t need lab equipment to evaluate a bubble level app. You just need a repeatable surface and a simple process.
Step-by-step: the “flip test” (checks calibration + sensor consistency)
- Pick a flat reference surface (a thick countertop, a sturdy table, or a known-flat shelf).
- Remove the case if it prevents the phone from sitting flat.
- Place the phone on the surface and note the reading (angle or bubble position).
- Rotate the phone 180° (same spot, opposite direction).
- Compare readings: the values should mirror each other closely. Large differences suggest poor calibration or unstable readings.
If the app supports calibration, calibrate on the surface and repeat the flip test. A strong app will become more consistent after calibration and remain stable between placements.
Step-by-step: the “edge test” (checks usefulness for plumb)
- Find a door frame or tall cabinet side.
- Hold the phone against the surface in a consistent spot.
- Move the phone away and place it back in the same orientation.
- Watch for repeatability (the reading should return to the same value).
Common DIY scenarios and what features matter most
The best bubble level app for iPhone depends on what you build and how you work. Here’s how to match features to typical tasks.
Hanging shelves, pictures, and TVs
- Must-have: quick calibration, strong visual “level” indicator.
- Nice-to-have: haptic/sound alert, reading hold.
- Pro tip: If you’re leveling a long shelf, check both ends. A short level (your phone) can miss a twist across longer spans.
Leveling appliances (washer/dryer, fridge, range)
- Must-have: dual-axis leveling.
- Nice-to-have: numeric degrees (helps you dial in small changes).
- Pro tip: Place the phone on a flat, stable part of the appliance (not on a curved or flexible surface).
Setting posts, fence lines, and framing checks
- Must-have: plumb mode, clear alignment guides.
- Nice-to-have: large display, lock reading.
- Pro tip: For posts, check plumb from two adjacent faces (front/back and left/right).
Slope and drainage (showers, patios, ramps)
- Must-have: numeric angle and stable sensor filtering.
- Nice-to-have: slope/grade display, reference angle setting.
- Pro tip: Use a straightedge or long board and place the phone on top to average out bumps in the surface.
Quick comparison table: what to prioritize
| Need | Best feature | Why it matters |
|---|---|---|
| Fast “is it level?” checks | High-contrast bubble + clear level indicator | Reduces misreads in bright light and awkward angles |
| Reliable results | Calibration + repeatability | Makes readings consistent across sessions and surfaces |
| Appliance leveling | Dual-axis (2D) mode | Shows tilt in both directions at once |
| Plumb walls/posts | Plumb mode + lock/hold | Helps you verify vertical alignment without juggling |
| Slope work | Numeric degrees (and/or % grade) | Lets you hit target slopes with precision |
| Work anywhere | Offline-first, no sign-in | More dependable in basements, sheds, and remote sites |
Mistakes that make any bubble level app feel inaccurate
Even a great app can seem “wrong” if the setup is off. These are the most common pitfalls:
- Using the phone on an uneven contact point: camera bumps and cases can create a tiny tilt that matters.
- Measuring on textured surfaces: place a thin, flat board as an interface if needed.
- Not letting the reading settle: pause for a second after positioning.
- Comparing against an unverified physical level: inexpensive torpedo levels can be off too; use the flip test on the physical level if you’re unsure.
Mini workflow: a repeatable way to use a bubble level app on projects
If you want consistent results across many jobs, use a simple routine:
- Pick a reference surface you trust (or verify with the flip test).
- Calibrate your bubble level app on that surface.
- Use a consistent contact method (case off, flat board, or same edge of the phone).
- Check twice (rotate 180° or measure from two faces when possible).
- Record critical slopes in degrees so you can recreate them later.
What to expect (and when to use a dedicated level)
A bubble level app is ideal for everyday DIY, quick verification, and portability. But there are times when a dedicated tool is still the right call:
- Long spans: a 24–48 inch level (or laser level) averages out dips and crowns better than a phone.
- Code-critical work: structural framing, trade inspections, or precision installs may require certified tools.
- Hands-free alignment: magnets, clamps, and rigid bodies can be important in professional workflows.
In many cases, the best approach is a hybrid: use your iPhone level app for fast checks and setup, then confirm with a longer level when the project demands it.
Choosing the best bubble level app for iPhone: a final short list of “musts”
- One-tap calibration and stable readings
- Dual-axis leveling for appliances and surfaces
- Numeric angles for slope and repeatable setups
- Offline operation with no forced subscriptions or sign-ins
- Readable UI plus optional sound/haptics
If you want a single iOS toolkit that includes a capable bubble level alongside other measurement utilities for DIY and navigation, apps like Level Tool bundle multiple offline instruments in one place—useful when you’d rather carry fewer dedicated devices.
