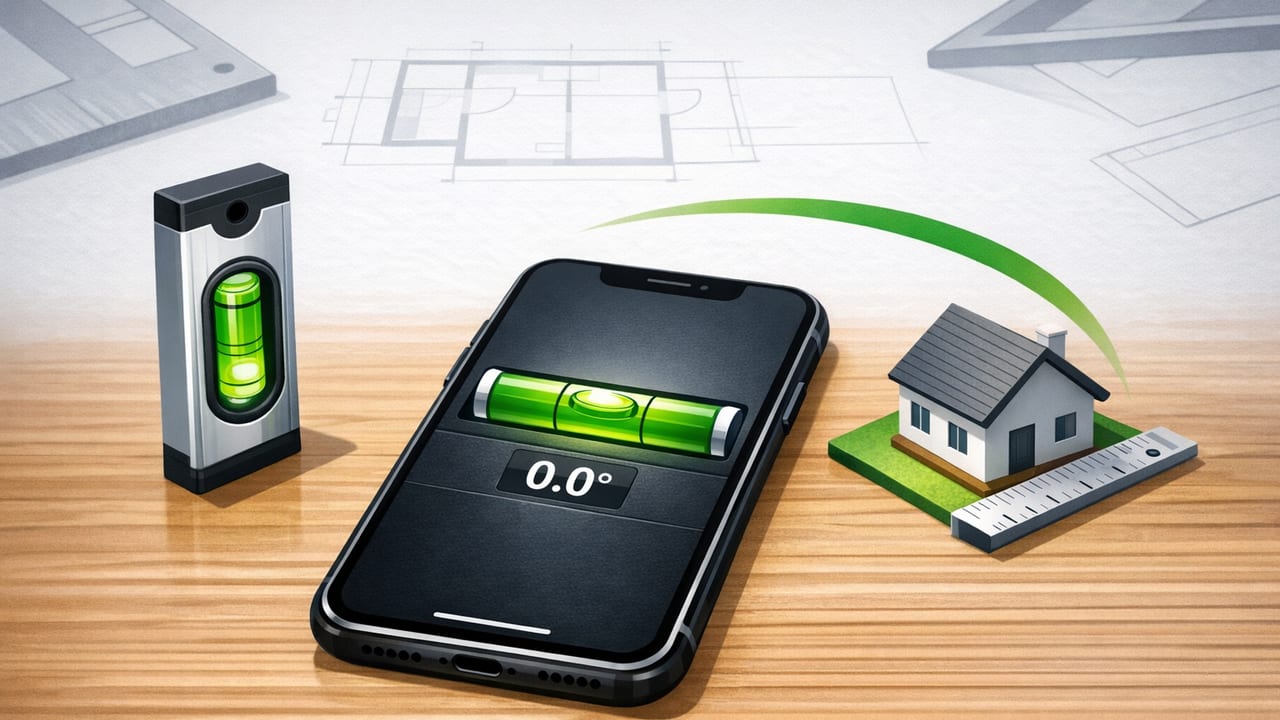
A bubble level (spirit level) is one of those tools you only notice when something looks “off”: a shelf that slopes, a picture frame that tilts, or a washing machine that vibrates because it isn’t level. If you don’t have a physical level nearby, your iPhone can do a surprisingly good job—if you use the right app and set it up correctly.
This guide explains how to choose the best bubble level app for iPhone, what “accuracy” really means on a phone, which features matter for DIY and professional work, and how to get consistent results in real-world projects.
How a bubble level app works on iPhone
A bubble level app uses your iPhone’s built-in motion sensors (primarily the accelerometer and gyroscope) to measure tilt relative to gravity. The app converts that sensor data into:
- Pitch (tilt forward/back)
- Roll (tilt left/right)
- Angle readout (degrees or percentage slope)
- Visual bubble (a virtual “vial” like a spirit level)
Because it’s sensor-based, the iPhone can measure angles very precisely under stable conditions. The main causes of bad readings are usually setup issues (uncalibrated baseline, uneven contact surface, phone case wobble) rather than the sensors themselves.
What “accurate” means for a bubble level app
When people search for the best bubble level app for iPhone, they often mean two different things:
- Repeatability: If you measure the same surface multiple times, do you get the same result?
- True accuracy: Does the app match a trusted reference (a quality physical level or a known-flat surface)?
Most reputable iPhone level apps can be highly repeatable. True accuracy depends on calibration and how you physically place the phone. For many home projects (hanging frames, leveling furniture, aligning appliances), being within a fraction of a degree is more than enough—what matters is getting a consistent “level” reference you can trust.
Practical rule: A great iPhone level app isn’t the one with the fanciest interface—it’s the one that stays consistent after calibration and is easy to read while you’re working.
Must-have features in the best bubble level app for iPhone
Not every level app is built the same. If you want something you’ll actually use in DIY and jobsite scenarios, prioritize these features.
1) Calibration (and easy recalibration)
Calibration sets “zero” so the app knows what level looks like on your device. Look for:
- One-tap calibration
- Multi-point calibration or a “flip” method (measure, rotate 180°, average the error)
- Saved calibration that persists between sessions
2) Dual-axis leveling
Dual-axis views show left/right and forward/back tilt at the same time. This matters when leveling large surfaces (tables, appliances) where a single-axis bubble can hide a diagonal tilt.
3) Clear numeric readouts (degrees and slope)
A bubble visualization is quick, but numbers are essential for:
- Matching an existing pitch (e.g., a ramp or drain slope)
- Setting repeatable angles (e.g., saw guides, jig setups)
- Troubleshooting (you can identify whether you’re off by 0.2° or 2°)
4) Hold/lock function
A hold button freezes the reading so you can remove the phone and still see the measurement—useful when checking awkward locations like inside cabinets or above door frames.
5) Audible or haptic cues
Sound/vibration cues help when you can’t stare at the screen (for example, while shimming a fridge). A subtle “beep at level” feature can speed up alignment.
6) Offline use and no forced sign-in
For workshops, basements, cabins, and job sites, offline functionality is a real advantage. The best utility apps work without requiring accounts, subscriptions, or data connections.
7) Clean UI with large viewing angles
On ladders or in tight spaces, readability matters. Look for high-contrast colors, large digits, and an uncluttered view.
Feature checklist: what to compare before you download
| Feature | Why it matters | Nice-to-have or essential? |
|---|---|---|
| Calibration (tap + flip method) | Reduces device-specific sensor bias for true level | Essential |
| Dual-axis view | Catches diagonal tilt and speeds leveling of flat surfaces | Essential |
| Angle readout (° / % slope) | Useful for repeatable setups and diagnosing drift | Essential |
| Hold/lock reading | Measure in tight spaces and read later | Nice-to-have |
| Haptic/audio “level” indicator | Hands-free leveling while adjusting shims | Nice-to-have |
| Offline mode | Reliability on sites with poor signal; privacy | Essential |
| Ads/subscription gating | Avoid interruptions mid-task; long-term access | Essential |
How to calibrate a bubble level app (for better accuracy)
Calibration is the difference between “handy” and “trustworthy.” Here’s a method that works with most apps that offer calibration:
Step-by-step: the flip calibration method
- Find a stable surface that you believe is close to level (a countertop, a solid table, or a thick shelf). Avoid soft surfaces like beds or carpet.
- Place the iPhone flat (screen up) and let the reading settle for 2–3 seconds.
- Calibrate using the app’s calibration button.
- Rotate the phone 180° on the same spot (top becomes bottom) without changing the phone’s position on the surface.
- Compare the reading. If it shows a consistent offset, use the app’s advanced calibration (if available) or recalibrate using the flip method until both orientations agree.
Tip: If your app doesn’t support flip/advanced calibration, you can still improve results by ensuring the phone always sits the same way (same edge orientation) when you compare measurements across a project.
Common mistakes that make iPhone level readings “wrong”
- Phone case wobble: Some cases have raised lips or uneven backs. If the phone rocks, the reading will drift. Consider removing the case for precision work.
- Measuring on textured or flexible materials: Plush wood grain, foam, or thin laminates can compress under the phone differently each time.
- Not letting the reading settle: Tiny hand movements can create noise. Place the phone, release it, then read.
- Comparing different contact points: If you shift the phone a few inches, you may be measuring a different local slope (especially on bowed boards or uneven plaster).
- Assuming “level” equals “looks right”: Some walls and ceilings aren’t square. For visual alignment (gallery walls), you may intentionally split the difference between true level and the room’s lines.
DIY scenarios where a bubble level app shines
Here are practical ways people use a bubble level app on iPhone, with tips for better outcomes.
Hanging picture frames and wall shelves
- Calibrate first.
- Use dual-axis if the shelf is wide.
- If the wall is uneven, measure the shelf itself rather than the wall surface.
Leveling appliances (fridge, washer/dryer)
- Place the phone on a rigid, flat section (not a curved door).
- Use a hold/lock reading if you need to remove the phone while adjusting feet.
- Check both axes: front-to-back affects doors; side-to-side affects vibration.
Aligning posts, cabinets, and door frames (plumb checks)
Many apps include a vertical (plumb) mode. For best results:
- Press the phone firmly against a straight edge.
- Check at multiple heights to catch bows.
- Take two readings: one on each side of the post/frame to confirm consistency.
Setting slope for drainage or ramps
When you need a consistent pitch (for example, a slight slope away from a foundation), numeric readings help. Look for apps that show:
- Degrees (e.g., 1.5°)
- Percent grade (e.g., 2%)
Can an iPhone level replace a real spirit level?
For many tasks, yes—especially when you need a quick check or don’t have tools on hand. But a physical level still has advantages:
- Long spans: A 24–48" level bridges dips and bumps better than a phone.
- Ruggedness: Jobsite drops, dust, and wet conditions can be harsh on a phone.
- Reference edges: A good level has machined edges designed to sit flat and true.
A practical approach is to use your iPhone level app for everyday alignment and quick verification, and keep a physical level for long-span framing, finish carpentry, or compliance-critical work.
Quick “accuracy test” you can do at home
If you want confidence that you’ve found the best bubble level app for iPhone (or at least one that’s reliable on your device), run this simple test:
- Calibrate on a stable surface.
- Measure a flat tabletop in three spots and record the angle each time.
- Rotate the phone 180° in each spot and measure again.
- If the readings are consistent (small variation) and the flip readings mirror closely, your setup is solid.
If results vary widely, remove the case, clean the contact surface, recalibrate, and ensure the table isn’t wobbling.
What to look for in the App Store (without getting fooled)
App listings can be noisy. Use these cues to find quality:
- Mentions of calibration in the description or screenshots
- Recent updates supporting current iOS and devices
- Offline capability and minimal permissions
- No subscription required for basic level functionality
- Clear screenshots showing dual-axis and numeric readouts
Bottom line: the “best” app is the one you can trust repeatedly
The best bubble level app for iPhone is the one that’s easy to calibrate, stable in its readings, readable at a glance, and usable offline—because a level is only helpful when it’s ready the moment you need it. If you narrow your choices to apps with dual-axis leveling, strong calibration options, and a clean interface (without paywalls blocking core features), you’ll end up with a tool you can rely on for everyday DIY and professional checkups.
Gentle note: If you prefer an offline iOS toolkit that includes a bubble level alongside other practical measurement tools, you can also explore Level Tool as one option.
