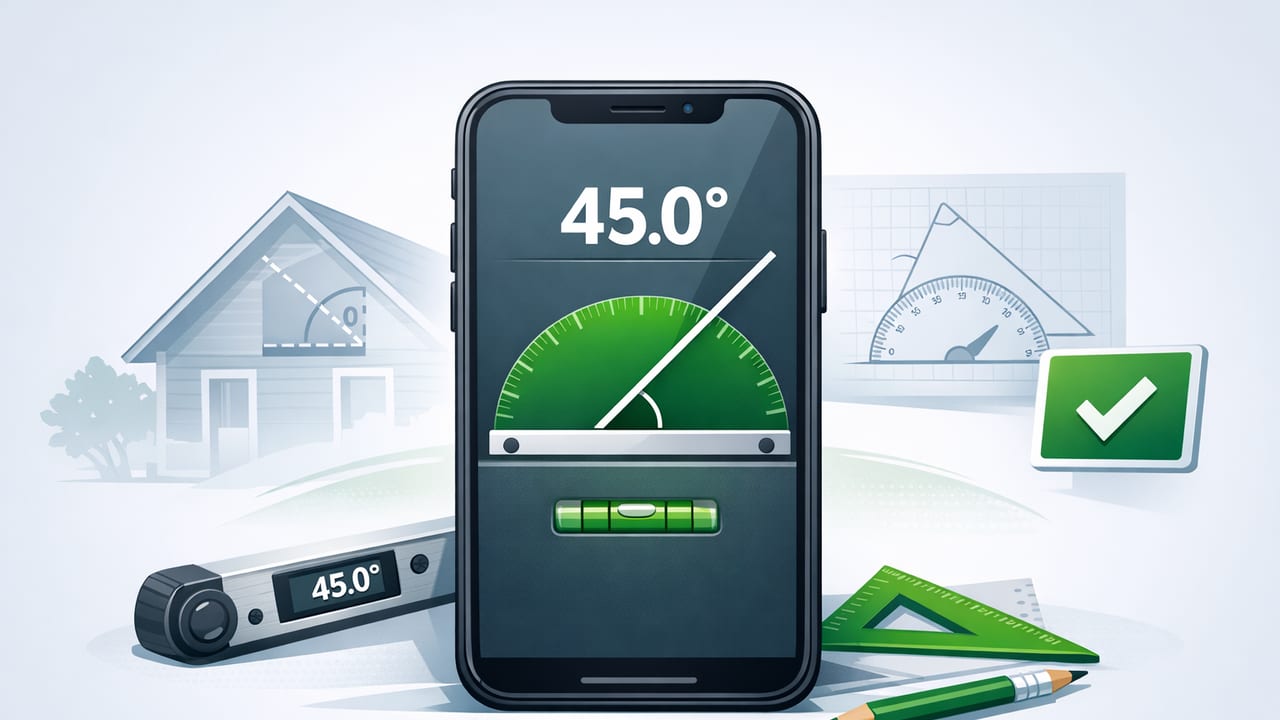
An angle finder app turns your iPhone into a pocket inclinometer for measuring tilt, slope, and pitch. Whether you’re aligning a picture frame, setting a miter saw, checking a ramp grade, or matching an existing roof pitch, the right workflow makes your readings more reliable and repeatable.
This guide focuses on practical technique: what your iPhone is actually measuring, how to calibrate properly, how to avoid common mistakes, and how to translate readings into real-world decisions for DIY and professional tasks.
What an angle finder app measures (and what it doesn’t)
Most angle finder tools rely on the iPhone’s internal sensors (accelerometer and gyroscope) to detect orientation relative to gravity. In plain terms, you’re typically measuring one of these:
- Tilt angle (degrees): how far a surface is from level (0°) or from vertical (90°).
- Slope/grade (%): rise over run expressed as a percentage.
- Pitch ratio: common in roofing (e.g., “6:12” pitch).
What it doesn’t measure by itself is the angle between two arbitrary surfaces unless you use a “relative/zero” feature and take two readings. That’s an important distinction: your phone measures its own orientation, so your process needs to connect that orientation to the surfaces you care about.
Choose the right measurement mode for the task
Angle tools often offer multiple readouts (degrees, percent, pitch) and multiple references (absolute vs relative). Here’s how to choose quickly:
Absolute angle (relative to level)
Use this when you want to know the true tilt of a surface. Examples: checking if a shelf is level (0°), verifying stair stringer slope, or setting a wheelchair ramp grade.
Relative angle (zeroing to a reference)
Use this when you care about the angle between two things: matching an existing trim angle, copying a roof pitch, or setting a saw bevel to mirror a wall that isn’t plumb.
Degrees vs percent vs pitch
- Degrees are best for tools and plans (miter saw bevel, machine setup).
- Percent grade is common for drainage, ramps, and landscaping.
- Pitch is common for roofing and some framing contexts.
Step-by-step: how to use an angle finder app accurately
The difference between a “close enough” reading and a trustworthy one usually comes down to setup. Use this repeatable workflow:
- Clean the contact surface: Dust, grit, or a screw head under your phone can skew readings.
- Use the phone’s flattest side consistently: Pick one edge/back face and stick with it throughout the job.
- Stabilize: Hold the phone firmly against the surface. Avoid measuring while your hand is shaking or while standing on a flexing ladder.
- Wait for the reading to settle: Many tools average sensor noise over a moment. Give it a second.
- Repeat and average: Take 3 readings. If one is an outlier, re-seat the phone and measure again.
- Use “hold” or screenshot: If your app supports it, lock the value before moving away.
Calibration: the fastest way to improve trust
Even a great angle finder app can be thrown off by a slightly imperfect reference or by how you place the phone. Calibration doesn’t have to be complicated, but it should be intentional.
Two-position flip test (simple and effective)
This is a classic technique because it cancels many surface imperfections:
- Place the phone on a reasonably flat surface and note the angle (or use a calibrate/zero function if available).
- Rotate the phone 180° on the same spot (end-for-end) and note the new reading.
- If the readings aren’t equal and opposite, the difference indicates bias from placement or sensor offset. Re-seat and try again.
Tip: If your app supports a “zero” button, you can zero to a known reference (like a verified level surface) before measuring a relative angle (like a saw bevel).
When to recalibrate
- After a significant temperature change (moving from a cold garage to a warm room).
- After removing a thick case or changing accessories that alter how the phone sits.
- Before any “one-shot” critical cut where a small error is costly.
Real DIY use cases (and the best method for each)
1) Setting a miter saw bevel
Use relative mode:
- Zero the phone against the saw table (or a known level reference if the table is verified).
- Place the phone on the blade housing/guide surface used for bevel setting (follow your tool’s safe measurement points; keep power disconnected).
- Adjust to target degrees and re-check after tightening.
2) Matching an existing roof pitch
Use pitch or degrees:
- On a safe, stable surface, place the phone flush along the slope.
- Record pitch/angle and confirm with a second reading a foot or two away to ensure consistency.
3) Checking drainage slope for tile or shower pans
Use percent grade:
- Place a straightedge on the surface and the phone on the straightedge for better contact.
- Take multiple readings along the run to catch low spots.
4) Building a ramp or verifying accessibility grade
Use percent grade (and confirm over distance):
- Measure the slope in several sections, not just one spot.
- For a double-check, measure rise and run with a tape measure and compare to the app’s grade.
Common mistakes that cause “bad” readings
- Measuring on a textured surface: Shingles, rough framing, or grout lines prevent full contact. Use a straightedge or a scrap of smooth wood as a bridge.
- Measuring on a flexible surface: Thin MDF, loose shelves, or metal ducting can deflect under the phone’s weight or your hand pressure.
- Phone case interference: Raised camera bumps and thick cases tilt the phone. Consider removing the case for critical measurements.
- Confusing angle definitions: “Angle from level” vs “angle from vertical” can differ by 90°. Verify the app’s reference before cutting.
- Relying on a single reading: Sensor noise and placement variations are real. Repeat the measurement.
Degrees, percent, and pitch: quick conversion reference
You don’t always need to convert, but it helps when plans specify one format and your app displays another. Here’s a practical reference (rounded):
| Degrees (from level) | Percent Grade | Approx. Pitch (rise:12) |
|---|---|---|
| 5° | 8.7% | ~1:12 |
| 10° | 17.6% | ~2:12 |
| 15° | 26.8% | ~3:12 |
| 18.4° | 33.3% | 4:12 |
| 26.6° | 50% | 6:12 |
| 33.7° | 66.7% | 8:12 |
| 45° | 100% | 12:12 |
Note: Pitch is traditionally expressed as rise per 12 units of run; percent grade is (rise/run) × 100. Degrees relate via tangent: grade = tan(deg) × 100.
A simple “sanity check” you can do with your iPhone
When precision matters, do a fast cross-check using basic math and a tape measure. Measure a run (horizontal distance) and a rise (vertical change), then compare the implied angle to your app reading.
// Given rise and run in the same units
// gradePercent = (rise / run) * 100
// degrees = arctan(rise / run) * (180 / π)

// Example: rise 2 in, run 24 in
// gradePercent = (2/24)*100 = 8.33%
// degrees ≈ arctan(0.0833)*57.2958 ≈ 4.76°
This check is especially helpful for long slopes (ramps, drainage) where tiny angle errors can compound over distance.
What to look for in a good angle finder app
Not all tools are equally usable in the field. For DIY and jobsite work, prioritize features that improve repeatability and reduce friction:
- Relative/zero function for copying angles and setting tool bevels.
- Dual-axis readout if you need both pitch and roll (helpful when aligning posts or appliances).
- Clear, high-contrast display you can read under bright light.
- Hold/lock reading or easy saving so you can move without losing the value.
- Offline functionality so the tool works in basements, remote sites, or airplane mode—without depending on connectivity.
Accuracy is a system: a stable reference, consistent placement, repeat measurements, and a tool that makes those habits easy.
Quick checklist for better results
- Use a straightedge on rough surfaces.
- Remove bulky cases for critical work.
- Zero to a trusted reference when measuring relative angles.
- Take at least three readings and confirm consistency.
- For long slopes, verify with rise/run as a cross-check.
Final thoughts
A well-used angle finder app can replace (or at least back up) several specialized tools for everyday measuring—especially when you pair it with smart technique: stable contact, calibration habits, and repeat readings. If you prefer an all-in-one offline iOS toolkit that includes angle/level-style measurement alongside other essentials, Level Tool is one option to explore.
