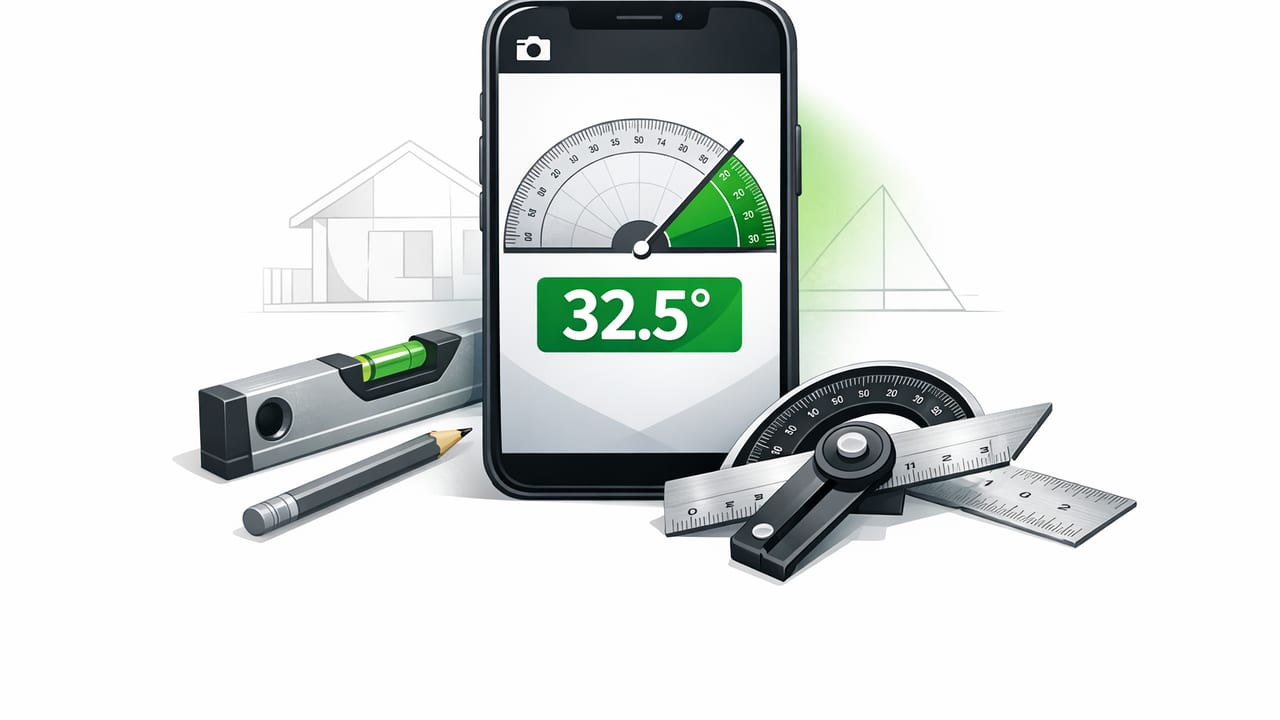
An angle finder app turns your iPhone into a pocket inclinometer for measuring slopes, tilts, and bevels—useful for everything from hanging shelves to cutting trim. Instead of guessing “close enough,” you can capture a number (like 32.5°), replicate it on a miter saw, and check the result during installation.
This guide explains what an angle finder app does, how it works, where it shines in home improvement, and how to get the most accurate readings using your iPhone’s sensors—especially when you’re working offline in a garage, basement, job site, or outdoors.
What an angle finder app measures (and what it doesn’t)
Most iPhone angle tools measure inclination: the angle of a surface relative to level (0°) or plumb (90°). That’s perfect for:
- Slope/pitch (ramps, drainage, roof pitch checks from accessible surfaces)
- Tilt (appliances, furniture, machines, mounted TVs)
- Bevel matching (copying an angle from a surface to set a saw)
- Level/plumb verification (0°, 90°, and everything between)
What it typically doesn’t measure directly is a corner angle between two walls (like a true “miter angle finder” that spans both faces at once). You can still solve corners with an iPhone, but it usually involves measuring each wall’s deviation from square, or using a transfer method (explained below).
How an iPhone measures angles
An angle finder app reads motion sensors—primarily the accelerometer and gyroscope—to estimate gravity’s direction and your phone’s orientation. When the phone is placed against a surface, the app can compute the surface’s tilt relative to gravity.
Why sensor-based angle readings can be surprisingly accurate
For many DIY tasks, you don’t need survey-grade precision—you need consistent, repeatable numbers. If you can measure a slope as 6.2° today and confirm it as 6.2° after adjustment, you’ve achieved a practical workflow that rivals many standalone digital inclinometers.
Before you measure: setup steps that improve accuracy
Accuracy problems usually come from setup, not the sensor. Use these habits to get cleaner readings from any angle finder app:
- Calibrate on a known-flat surface: A countertop, a sturdy workbench, or a verified level surface is ideal. Many apps offer a “zero” or calibration button.
- Remove the case (when it rocks or flexes): Soft or uneven cases can introduce a small offset. If the phone wobbles, you’ll see the number drift.
- Use the same phone edge every time: Pick one side (bottom edge, long edge, or back) and stick to it for consistent contact.
- Let the reading settle: Hold still for a second. Micro-movements can cause tenths of a degree to fluctuate.
- Mind magnets and metal: Magnetism affects compass readings more than angles, but heavy vibration or unstable footing can still skew results.
Pro tip: If you’re measuring on rough wood or textured tile, place a straightedge (like a known straight level or a metal ruler) against the surface and rest the phone on the straightedge. You’ll reduce bumps and get a more stable angle.
Practical DIY uses for an angle finder app
1) Setting slope for drainage and outdoor projects
Patios, pavers, and outdoor drains often need a gentle slope to move water away from structures. Instead of eyeballing it, measure the pitch directly. For example, many drainage guidelines target around 1–2% slope (which is roughly 0.6°–1.1°), depending on the application and surface.
Workflow:
- Zero the app on a reference surface (or use “absolute” angle if your app supports it).
- Place the phone on a long straight board laid across the area.
- Adjust supports until the board shows your target angle.
2) Matching a bevel for trim, shims, and transitions
When two surfaces meet—like flooring transitions, wall cladding, or a custom threshold—copying the exact bevel can eliminate gaps. Use the phone to read the angle of the surface, then set your saw to the same bevel (or compute the complementary angle depending on your saw’s scale).
Quick concept:
- If a surface reads 12° from level, you may need a 12° bevel (or 78° from vertical) depending on how your tool defines the reference.
- Always confirm with a scrap cut before committing to the final piece.
3) Installing shelves, handrails, and supports on uneven walls
Older homes often have walls that are not perfectly plumb, and floors that are not perfectly level. An angle finder helps you decide whether to:
- install “true level” and accept an uneven reveal, or
- match the room’s slope so the piece looks visually aligned.
Try this approach:
- Measure the floor’s tilt near the install location.
- Measure the wall’s tilt (plumb deviation) where the bracket mounts.
- Use those two numbers to plan shims and bracket spacing.
4) Checking stair and ramp angles (safely)
For stairs, you can quickly verify if a run “feels” steep by measuring the stringer or a long board laid along the slope. For ramps, you can confirm the incline while making adjustments.
Safety note: Don’t balance your phone on a step edge where it can fall. Hold it firmly or use a stable board surface.
Common angle targets (quick reference)
| Project | What you measure | Typical target (varies) |
|---|---|---|
| Drainage away from house | Slope of surface/board | ~0.6°–1.1° (about 1–2%) |
| Handrail along stairs | Stair pitch | Matches existing stair angle |
| TV mount fine adjustment | Screen tilt | 0° (level) or slight downward tilt |
| Shop tool leveling | Machine top tilt | 0° (level) in both axes |
| Custom bevel cut | Surface angle to match | Whatever the surface reads |
Note: “Typical target” depends on local codes, manufacturer specs, and context. Use the app to measure existing conditions and make controlled adjustments.
How to transfer an angle from the phone to your saw or workpiece
Angle transfer is where an angle finder app becomes more than a novelty. Use one of these methods:
Method A: Direct bevel match
- Place the phone on the surface and record the angle.
- Set your saw’s bevel to the same number (if the reference is the same).
- Make a test cut and confirm with the phone against the cut face.
Method B: Complementary angles (when tool scales differ)
Some tools read from a different zero point (for example, from vertical instead of horizontal). The complementary relationship is:
Angle from vertical = 90° − angle from level
If the phone reads 18° from level, that’s 72° from vertical.
Method C: Two-surface corner workaround
To approximate a corner situation:
- Measure the first wall’s deviation from plumb.
- Measure the second wall’s deviation from plumb.
- If both walls are close to plumb, treat the corner as near 90° and focus on trim fit with test pieces.
For precision inside/outside corners, a dedicated mechanical angle finder (that physically spans the corner) is still the fastest. But the phone can help diagnose whether the problem is out-of-plumb walls, an uneven floor, or a twisted trim piece.
Troubleshooting: why your angle reading drifts
- The surface isn’t stable: A thin board can flex; a step edge can rock. Use a thicker straightedge.
- Your hand is moving: Even tiny movement changes the reading. Brace your forearm or rest the phone on the surface.
- Temperature and vibration: Power tools nearby, loud compressors, or working in a moving vehicle can affect stability.
- Calibration offset: Re-zero occasionally, especially after bumping the phone or changing cases.
Offline measurement matters more than you think
Many DIY and field tasks happen where connectivity is unreliable: basements, workshops, rural properties, or on-the-road jobs. An offline-capable angle tool means:
- No waiting for pages or accounts to load
- More predictable performance on job sites
- Better privacy for users who prefer local-only tools
Offline doesn’t automatically mean “more accurate,” but it often means “more dependable,” which is crucial when you’re measuring repeatedly during layout and installation.
(Optional) The math behind inclination (for the curious)
If you’re building your own workflow or logging measurements, inclination can be computed from acceleration components. Here’s a simplified example that estimates pitch (tilt forward/back) from gravity:
// Conceptual example (not production-ready)
// ax, ay, az are acceleration components where gravity dominates
// pitch in radians, convert to degrees
pitch = atan2(-ax, sqrt(ay*ay + az*az))
angleDegrees = pitch * (180.0 / PI)
Real apps fuse accelerometer and gyroscope data (often with filtering) to reduce jitter and improve responsiveness.
Choosing a good angle finder app: a checklist
- Clear reference modes: shows degrees from level and/or from vertical
- Easy calibration: one-tap zeroing
- Dual-axis leveling: helpful for checking twist (both roll and pitch)
- Large, readable display: essential when your hands are full
- Offline functionality: works in garages, basements, and remote locations
- No subscription friction: you can keep using it as part of your tool kit
Final takeaways
An angle finder app is one of the most practical ways to get repeatable, numeric angle measurements in DIY and home improvement. The biggest wins come from good process: calibrate, use stable contact, transfer angles carefully, and validate with a test cut. Once you do, your iPhone becomes a reliable helper for layout, installs, and adjustments—especially when you need quick answers on-site.
If you prefer an offline iOS toolkit that combines angle/level-style measurements with other essentials (like ruler and compass) in one place, Level Tool is one example to explore.
