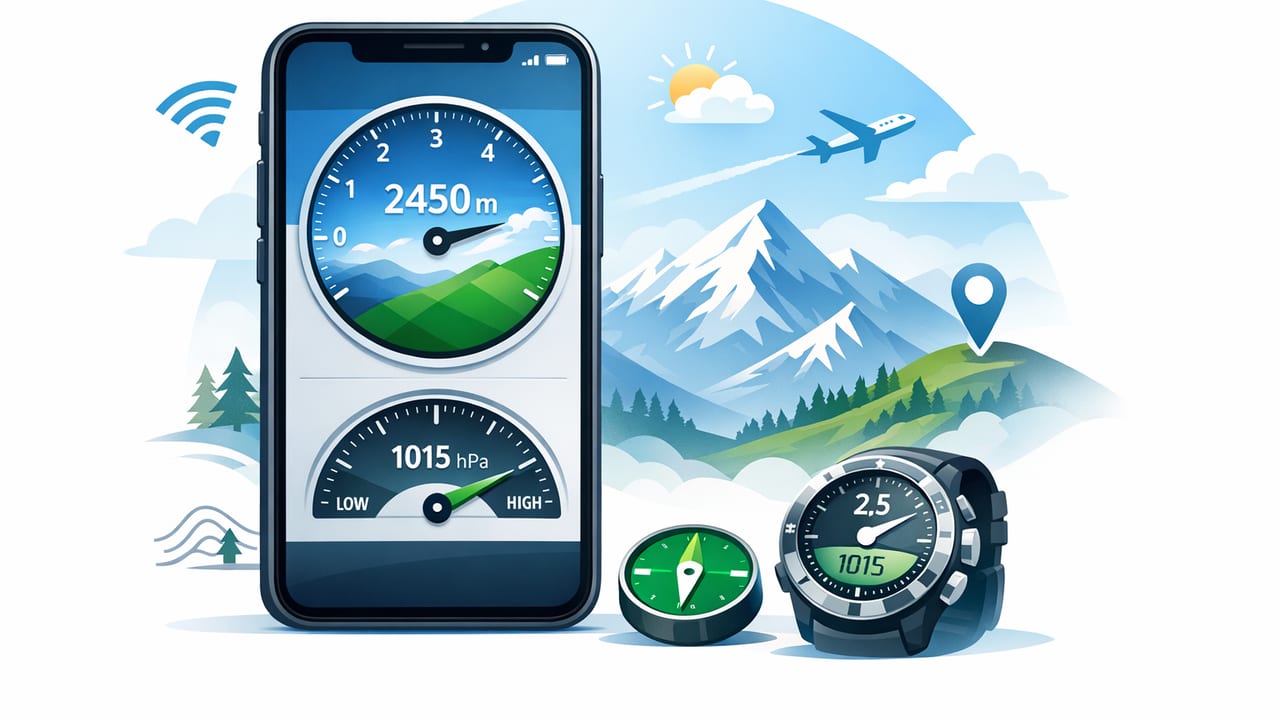
An altimeter barometer app turns your iPhone into a practical field instrument for estimating altitude and tracking air pressure trends. For hikers, surveyors, drone pilots, and DIYers, it can answer questions like: “How much did I climb?”, “Is pressure dropping fast enough to signal incoming weather?”, or “Did my pressure change indoors after sealing a room?”
This guide explains how iPhone barometric sensing works, where altitude numbers come from, what affects accuracy, and how to calibrate for repeatable results—especially when you want reliable readings offline.
What an altimeter + barometer actually measures
Despite the “altimeter” name, the iPhone’s sensor is fundamentally a barometer. It measures atmospheric pressure (commonly in hPa/mbar). Altitude is then calculated from pressure using a model of how pressure changes with elevation.
Key terms you’ll see in an altimeter barometer app
- Absolute pressure: The raw pressure at your current location.
- Relative altitude: Change in altitude from a reference point (great for climbs/descents).
- Sea-level pressure (QNH): Pressure normalized to sea level, used to convert pressure into “altitude above sea level.”
- Pressure trend: Whether pressure is rising/falling over time (useful for weather awareness).
Practical takeaway: Pressure is the sensor’s “truth.” Altitude is a derived value that depends on assumptions (and calibration).
How iPhone altitude is calculated (and why it drifts)
Pressure decreases as you go up in elevation, but the exact relationship varies with temperature and weather systems. Most apps use a standard atmosphere approximation. A common simplified relationship is based on the barometric formula.
Why altitude can change even when you stand still
- Weather changes: A passing low-pressure system can make the app report a “higher altitude” without you moving.
- Indoor/outdoor transitions: Opening doors, HVAC cycling, or wind can cause small pressure shifts.
- Microclimates: Valleys, ridgelines, and storms can change local pressure gradients.
- Reference pressure: If the app assumes a sea-level pressure that doesn’t match local reality, “altitude above sea level” will be off.
Barometric altitude vs GPS altitude: what to trust
Many people compare app altitude to GPS and get confused when they don’t match. They measure different things, and each has strengths.
| Method | Strengths | Common issues | Best use |
|---|---|---|---|
| Barometric (pressure-based) | Very responsive to small vertical changes; smooth climb/descent tracking | Drifts with weather; needs calibration for absolute altitude | Hikes, stair climbs, elevation gain, relative measurements |
| GPS (satellite-based) | Doesn’t drift with pressure systems; works without a reference pressure | Vertical accuracy often worse than horizontal; can jump in canyons/trees/cities | General location-based altitude estimates; mapping context |
Rule of thumb: Use barometric altitude for changes (gain/loss) and calibrated barometric altitude for absolute elevation when you have a known reference.
Calibration: the fastest way to make altitude readings believable
If your goal is “altitude above sea level,” calibration matters. The most reliable approach is to set a reference using a known elevation or known sea-level pressure.
Method A: Calibrate using known elevation (best for DIY + hiking)
- Stand at a point with a trustworthy elevation (trailhead sign, benchmark, topographic map, or a building floor plan with elevation).
- In your altimeter barometer app, set the reference altitude to that value.
- Let the reading stabilize for 15–60 seconds (avoid wind gusts and rapid movement).
- Track changes from there. Recalibrate if weather changes significantly or after long time gaps.
Method B: Calibrate using sea-level pressure (useful near airports or marine forecasts)
- Obtain a current sea-level pressure value (often published by nearby airports as altimeter setting/QNH).
- Enter that value in the app if it supports it.
- Use the app’s altitude estimate as “elevation above sea level.”
How often should you recalibrate?
- For relative elevation gain: rarely (only if drift becomes obvious).
- For absolute altitude: at the start of an activity, and again if a front moves through or readings seem off.
- For multi-hour hikes: consider recalibrating at a known point (summit sign, pass elevation, mapped landmark).
Using pressure trends for “good enough” weather awareness
A barometer isn’t a full forecast, but pressure trends can be a useful signal, especially when you’re offline. Watch the direction and speed of change rather than a single number.
- Falling pressure over 1–3 hours often suggests deteriorating weather potential.
- Rising pressure often suggests improving or stabilizing conditions.
- Rapid drops can matter more than slow drift—especially before storms.
For outdoor safety, combine trend data with what you can directly observe: cloud build-up, wind shifts, temperature changes, and your route’s exposure.
Offline use: why it matters (and what still works)
Because barometer readings come from the iPhone’s sensors, an altimeter barometer app can remain functional without cell service. Offline use is especially helpful when:
- You’re in remote terrain and want continuous pressure/altitude logging.
- You prefer privacy and don’t want sensor data uploaded.
- You need quick checks at job sites where connectivity is unreliable.
What offline doesn’t provide: automatic local sea-level pressure updates (unless you enter them manually). That’s why reference calibration is so valuable.
Real-world scenarios where an altimeter barometer app helps
1) Hiking: measure elevation gain without GPS noise
Elevation gain (cumulative ascent) is often more meaningful than “current altitude.” Pressure-based readings typically respond smoothly to changes on switchbacks and ridges. Calibrate at the trailhead elevation, then track your climb and descent for a consistent day log.
2) Drone flying: understanding density/pressure context
While an iPhone barometer won’t replace aviation tools, pressure and altitude context can help you think about environmental conditions (and whether wind/weather is shifting). Use trends as an early signal, not as a primary flight-safety instrument.
3) DIY home improvement: quick vertical comparisons
Pressure differences between floors are small but measurable. You can use relative altitude to compare “how much higher” one landing is than another—useful when estimating stair rise totals or checking whether a platform is consistent across a space. For best results, keep doors/windows steady and avoid strong airflow during measurements.
4) Storm preparation: monitoring change, not absolutes
If your pressure has been stable for hours and then begins dropping steadily, that can reinforce decisions like shortening a route, securing gear, or planning a safer return. Again, trend awareness is the goal.
Accuracy tips (small changes that make a big difference)
- Keep your phone in a stable environment: pockets and backpacks buffer wind and rapid temperature swings.
- Avoid strong airflow: fans, car vents, and gusts can cause short-term pressure fluctuations.
- Let readings settle: especially after moving between indoors/outdoors.
- Use relative altitude for best repeatability: it’s usually more reliable than uncalibrated absolute elevation.
- Recalibrate at known points: trailheads, mapped passes, benchmarks, or surveyed job-site markers.
Troubleshooting: if your altitude looks “wrong”
Problem: altitude changes while you’re sitting still
Likely cause: barometric pressure is changing due to weather or airflow. Fix: watch the pressure trend; recalibrate if you need absolute altitude.
Problem: altitude is consistently off by a lot
Likely cause: incorrect reference sea-level pressure or no calibration. Fix: calibrate using a known elevation, or input a reliable QNH/sea-level pressure value if supported.
Problem: readings jump indoors
Likely cause: HVAC cycles, door pressure changes, or moving between floors quickly. Fix: measure in a calm spot and allow stabilization time.
(Optional) Converting pressure to altitude: a simple formula
If you like to understand what your app is doing, here’s a common approximation for altitude from pressure (using a standard atmosphere model). Many apps use a variation of this.
// Swift-style pseudocode for standard-atmosphere altitude estimate
// P0: sea-level pressure in hPa (e.g., 1013.25)
// P: measured pressure in hPa

func altitudeMeters(P: Double, P0: Double = 1013.25) -> Double {
    return 44330.0 * (1.0 - pow(P / P0, 0.1903))
}
Note: Temperature and real weather patterns change the true relationship, which is why calibration improves results.
Choosing the right altimeter barometer app features
When evaluating an app, look for features that support your specific workflow:
- Offline operation (sensor-based readings without accounts or subscriptions).
- Reference calibration by altitude and/or sea-level pressure.
- Trend graphs for pressure over time.
- Unit controls (meters/feet, hPa/inHg, etc.).
- Clear distinction between absolute altitude and relative altitude.
Wrap-up: get more value from pressure than from a single altitude number
The most reliable way to use an altimeter barometer app is to treat pressure as your core measurement, use relative altitude for tracking gains/losses, and calibrate whenever you need trustworthy absolute elevation. With those habits, your iPhone becomes a surprisingly capable tool for outdoor navigation context and practical DIY checks—even when you’re fully offline.
If you prefer an iOS toolkit that includes barometer/altimeter readings alongside other offline measurement tools, apps like Level Tool combine multiple utilities in one place.
