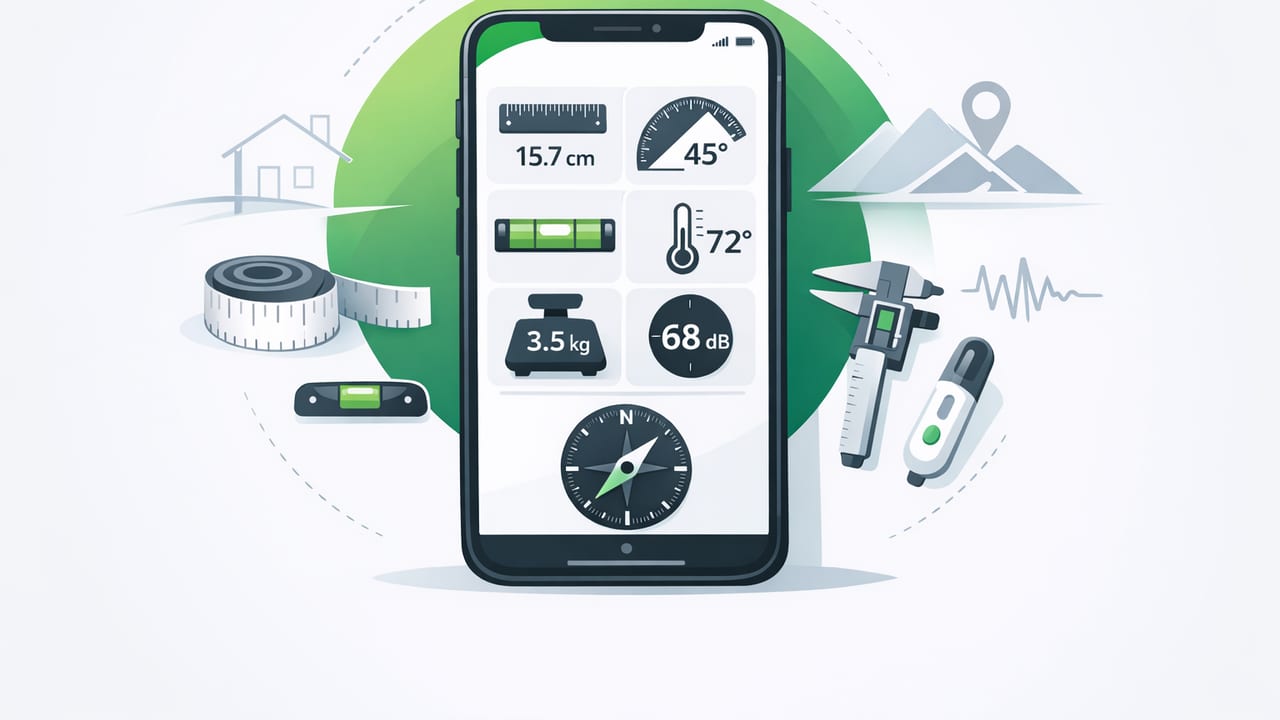
If you’ve ever started a DIY project and realized you’re missing a level, a ruler, or a compass, you already understand the appeal of an all in one measurement tools app. Modern iPhones include a surprisingly capable set of sensors—accelerometers, gyroscopes, magnetometers, GPS, and barometers—that can power real, repeatable measurements when used correctly.
This guide explains when to use each tool, how to improve accuracy, and what limitations to expect. The goal isn’t to replace every dedicated instrument in a workshop, but to help you get reliable results for common home improvement and outdoor navigation tasks—especially when you want something that works offline.
What “all-in-one” really means (and what it doesn’t)
An all-in-one measurement toolkit on iOS typically bundles several functions into one interface—often a level, ruler, compass, angle finder/protractor, and environmental tools like a barometer/altimeter. The advantage is speed: you stop switching between apps or digging through drawers for basic checks.
However, it’s important to set expectations:
- Great for quick verification (is this shelf level? is this cut angle close?).
- Useful for planning (rough dimensions, slopes, orientation, weather trends).
- Not a substitute for certified tools when you need compliance-grade measurements (structural work, professional surveying, critical electrical alignment).
The core tools and how to use them in real life
Below are the most common tools found in an iPhone-based measurement kit, plus practical ways to apply them at home and outdoors.
1) Bubble level (single-axis and dual-axis)
A digital bubble level uses motion sensors to measure tilt relative to gravity. A dual-axis level can show left/right and forward/back tilt at the same time—handy when leveling furniture, appliances, tripods, and wall-mounted items.
- Best for: hanging frames, leveling a washer/dryer, aligning a drill guide, checking a countertop pitch.
- Pro tip: For the most repeatable readings, place the phone on a stable, flat surface and keep your hands off the screen once it’s positioned.
- Common pitfall: Soft cases can compress unevenly and introduce tilt. If precision matters, remove thick cases or ensure the phone sits flat.
2) Angle finder / protractor
An angle finder is essentially a level that expresses tilt as degrees. This is useful for repeatable setups: setting miter saw angles, confirming stair stringer slopes, or matching an existing angle for trim.
- Best for: roof pitch estimates, ramp slopes, miter setup verification, checking handrail incline.
- Workflow tip: “Zero” (calibrate) on a reference surface first, then measure the target surface relative to that baseline.
3) Ruler / straight-line measurement
Phone ruler tools usually rely on screen-based scaling or guided calibration. They’re excellent for small items, quick checks, and markup planning (like determining whether a bracket will fit in a tight space).
- Best for: measuring hardware, drill bit sizes (approx.), spacing between holes, checking package dimensions.
- Accuracy tip: Verify the ruler against a known reference (a physical ruler or a credit card with known dimensions) before trusting it for repeated work.
4) Compass (magnetic) for orientation and wayfinding
An iPhone compass uses the magnetometer to detect magnetic north (and often shows heading in degrees). It’s useful for aligning things like satellite dishes, orienting a map, or keeping a consistent bearing on a hike.
- Best for: basic navigation, aligning outdoor gear, checking direction for solar panel planning.
- Accuracy tip: Keep away from magnets, steel beams, speakers, power tools, and even some phone cases with magnetic accessories.
5) Barometer / altimeter for weather trends and elevation context
Many iPhones include a barometer that can read air pressure, which can be translated into altitude estimates or used to observe weather changes over time.
- Best for: hiking context (altitude trends), monitoring pressure drops that may indicate approaching weather, verifying relative elevation changes.
- Reality check: Pressure-based altitude is sensitive to weather; treat absolute altitude as approximate unless corrected with known reference data.
6) Magnetometer / “metal detector” style readings
Magnetic field readings can help you locate magnetic interference, identify strong magnetic sources, or do simple diagnostics (for example, verifying whether a tool storage area has strong magnetic fields that might affect compasses).
- Best for: detecting magnetic anomalies, checking for hidden magnets, troubleshooting compass interference.
- Safety note: This is not a certified stud finder or live-wire detector. Use proper tools for wiring and structural checks.
Quick comparison: which tool to use for which task
| Task | Best iPhone Tool | What “good” looks like | Extra check |
|---|---|---|---|
| Hang a shelf straight | Dual-axis bubble level | 0.0° (or centered bubble) steady | Verify with a second position / flip test |
| Match an existing trim angle | Angle finder | Same degree reading at multiple spots | Zero on a known flat reference first |
| Measure bracket clearance | Ruler | Consistent reading across repeats | Confirm against a physical ruler once |
| Walk a consistent bearing | Compass | Stable heading with minimal swing | Move away from metal & recalibrate |
| Monitor storm approach | Barometer | Pressure dropping steadily over time | Compare with local forecast data |
How to get more accurate readings (without buying anything)
Accuracy is mostly about calibration, consistent technique, and reducing interference. Here’s a practical checklist you can use regardless of which app you prefer.
Calibration and verification checklist
- Level/angle: Place the phone on a flat surface, calibrate/zero, then rotate the phone 180° in the same spot. If the reading flips symmetrically (e.g., +0.3° becomes -0.3°), you’re in a good range.
- Compass: Recalibrate if the heading feels jumpy. Step away from metal (appliances, cars, toolboxes) and magnetic mounts.
- Ruler: Validate against a known reference length and avoid parallax (keep your eye centered over the screen edge you’re aligning).
- Barometer: Watch trends rather than fixating on a single number. A stable environment produces more meaningful comparisons.
- Repeatability: Take three readings. If two agree closely, trust the consensus rather than the outlier.
“The most useful measurement isn’t the fanciest—it’s the one you can reproduce consistently.”
Offline measurement tools: why it matters
For measurement and navigation, offline capability is more than a convenience:
- Reliability: garages, basements, job sites, and trails can have poor connectivity.
- Speed: tools open instantly without waiting on network calls or ads.
- Privacy: many users prefer sensor-based utilities that don’t require accounts or data sharing.
If you’re assembling a digital toolkit for DIY, an offline-first design is often a key differentiator—especially when you want permanent access without ongoing subscriptions.
Common mistakes (and how to avoid them)
Measuring on unstable surfaces
A phone balancing on a curved surface or on top of debris will give you “correct” sensor readings for an incorrect setup. Clear the surface and stabilize the phone.
Ignoring magnetic interference
Compass and magnetometer tools can be dramatically affected by nearby metal objects. If the heading swings, change location before changing settings.
Using screen rulers for large dimensions
Screen rulers are best for small items. For longer spans (doorways, boards, wall-to-wall), use a tape measure and treat the phone ruler as a backup.
Confusing precision with accuracy
An app might show 0.1° increments (precision), but the real-world setup might still be off due to placement, case flex, or calibration (accuracy). Always verify with a simple repeat test.
Mini workflow examples (DIY + outdoors)
Example: mounting a TV bracket
- Use ruler to confirm stud spacing marks and bracket offsets (small distances).
- Use level to align the bracket before final tightening.
- Use angle reading to confirm the wall mount tilt is consistent left-to-right.
Example: quick hiking orientation check
- Use compass to set a bearing toward a landmark.
- Use barometer/altimeter to sanity-check whether you’re gaining or losing elevation as expected.
- If headings feel wrong, relocate away from metal objects and recalibrate.
Optional: quick unit conversion for planning (inches ↔ cm)
If you jot measurements down and want fast conversions (for materials listed in metric vs imperial), this simple snippet can help if you’re building a DIY notes shortcut or a small utility.
// Swift: inches to centimeters and back
let inches: Double = 12.5
let cm = inches * 2.54

let centimeters: Double = 40
let inchesBack = centimeters / 2.54
Choosing the right all-in-one measurement tools app
When comparing options, focus on practical qualities rather than flashy screens:
- Tool coverage: level + angle + ruler + compass are the core; barometer and magnetic field tools are valuable extras.
- Calibration controls: easy access to zeroing/calibration and clear readouts.
- Offline functionality: works without internet and without requiring sign-in.
- No subscription dependency: especially for tools you may need unexpectedly on a job or at home.
- Modern device support: optimized for current iOS hardware and sensor behavior.
Bottom line
An all in one measurement tools app can meaningfully reduce friction in everyday DIY and navigation—if you treat it like a real instrument: calibrate it, verify it, and use it within sensible limits. For quick alignment, angle checks, basic orientation, and offline-ready utility, the iPhone can be a capable pocket tool kit.
If you’re looking for an offline iOS option that bundles multiple sensor-based utilities into one place, Level Tool is one example to explore.
