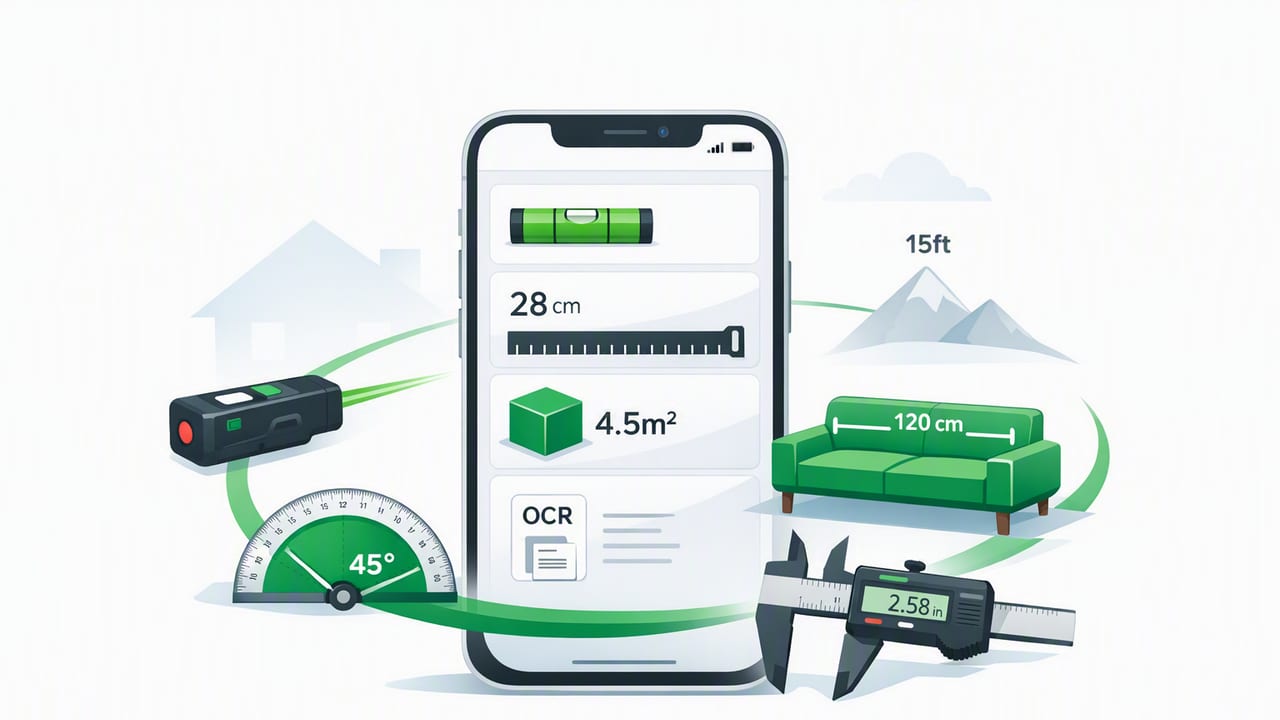
Carrying separate tools for leveling, checking angles, measuring short distances, and staying oriented outdoors used to mean a toolbox (or at least a glovebox full of gadgets). Today, iPhones and iPads include a surprisingly capable set of sensors—accelerometers, gyroscopes, magnetometers, GPS, and barometric sensors—that can power a practical all in one measurement app iOS users can rely on for everyday tasks.
This guide explains what these apps can do well, where accuracy comes from (and where it can drift), and how to build repeatable workflows for home improvement and navigation. The goal is not to replace every professional instrument, but to help you get consistent, decision-ready measurements with tools you already carry.
Why use an all-in-one measurement app on iOS?
Combining multiple measurement functions in one app is more than convenience. It can improve consistency and reduce setup time because you’re using one interface and one calibration approach across tasks.
- Faster setup: switch from level to compass to ruler without changing devices.
- Fewer forgotten tools: your phone is more likely to be on you than a specialty meter.
- Sensor fusion: modern iOS devices blend multiple sensors for smoother readings.
- Offline resilience: many measurement features work with no signal, useful in basements, job sites, and remote trails.
Rule of thumb: For layout and verification (level, plumb, angles, orientation), sensor-based tools can be extremely practical—especially when you focus on repeatability and calibration.
What iOS sensors power measurement tools?
Understanding the sensor behind each measurement helps you predict accuracy and avoid common mistakes.
| Tool in an iOS measurement app | Primary sensors | Best for | Common pitfalls |
|---|---|---|---|
| Bubble level / inclinometer | Accelerometer + gyroscope | Leveling shelves, appliances, picture frames | Uncalibrated reference surface, phone case wobble |
| Compass | Magnetometer + gyroscope | Bearings, orientation, rough mapping | Nearby metal, speakers, vehicle frames |
| Ruler (screen-based) | Display scaling | Short items, quick checks | Incorrect device scaling settings, parallax |
| Barometer / altimeter | Barometric pressure sensor (where available) | Weather trend checks, elevation changes | Weather shifts look like elevation changes |
| Metal detection (when supported) | Magnetometer | Finding ferrous objects near surfaces | Cannot reliably detect non-ferrous metals |
Accuracy basics: what “good” looks like for DIY
Accuracy expectations should match the task:
- Cosmetic alignment: hanging frames, aligning decor—small errors are often invisible.
- Functional alignment: shelves, appliances, furniture—small tilt can cause doors to swing or water to pool.
- Structural layout: framing, tile lines, cabinetry—verify with dedicated tools when tolerances are tight.
For many home tasks, the biggest source of error isn’t the sensor—it’s how the phone is placed. A thick case, camera bump, or rocking contact surface can introduce tilt that looks like a “bad reading.” When possible, place the phone on a flat edge or use a straight reference (a known level board or shelf).
Calibration: the quickest way to improve results
Calibration isn’t complicated, but it needs to be repeatable. Use this routine whenever readings seem off, after a hard drop, or when moving between environments (workshop to outdoors).
Step-by-step calibration routine
- Choose a reference surface: a countertop, a sturdy shelf, or a verified level board.
- Remove wobble: take the phone out of a loose case if it rocks.
- Calibrate in two orientations: measure, then rotate the phone 180 degrees on the same surface and compare.
- Average if needed: if the app supports it, use a calibration feature that accounts for both directions.
- Check a vertical reference: a door jamb or known plumb surface can validate “plumb” readings.
Pro tip: The 180-degree flip test is powerful. If the surface is truly level and your readings differ significantly between orientations, you’re seeing sensor bias or placement error.
DIY workflows that benefit from an all-in-one approach
Below are practical workflows where switching between level, ruler, and compass-like orientation tools in a single app can save time.
1) Hanging a row of frames (level + ruler)
- Mark spacing: use a ruler tool (or a tape measure for longer distances) to set equal gaps.
- Set a reference line: use the level/inclinometer on a straightedge (or a long ruler) to confirm the line is level.
- Confirm after hanging: place the phone against the top edge of each frame to verify consistency.
2) Leveling appliances (level + tilt)
Dishwashers, washing machines, and fridges often need small adjustments to prevent vibration or door swing.
- Check left-to-right level across the top surface.
- Check front-to-back tilt.
- Adjust feet in small increments and re-check after the appliance settles.
3) Installing shelves (level + angle + verification)
A common mistake is leveling the shelf but mounting brackets that aren’t aligned with each other. Use a two-step verification:
- Level the first bracket and mark fastener positions.
- Measure and mark the second bracket positions, then confirm bracket alignment with the level tool before drilling.
4) Tile layout checks (level + compass/orientation)
For tile lines, “level” is sometimes less important than “straight relative to the room.” A compass/orientation tool can help you keep consistent direction when you’re stepping back and forth across the room, especially if walls aren’t perfectly square. Combine that with level checks to prevent gradual drift.
Outdoor and travel use: navigation without signal
Navigation features vary by app, but the underlying idea is consistent: a compass provides direction, GPS provides location (when available), and a barometer can help detect elevation changes. Even when you’re offline, many iOS measurement tools still function because they rely on onboard sensors rather than network lookups.
Practical offline navigation checklist
- Compass sanity check: step away from cars, metal fences, and speakers before trusting a bearing.
- Calibrate magnetometer: if heading jumps or spins, re-calibrate according to app guidance.
- Use landmarks: take a bearing to a visible landmark (ridge, tower, trail junction), not an abstract direction.
- Monitor pressure trends: sudden pressure drops can indicate weather changes more than elevation changes.
Common mistakes (and how to avoid them)
Phone case and camera bump interference
If the phone rests on the camera bump or a rounded case edge, readings can be consistently off. Place the phone on a flatter side, remove the case, or use a thin spacer to stabilize contact.
Magnetic interference
Compass and metal detection functions are sensitive to nearby metal and magnets (including MagSafe accessories). If headings are erratic, move away from metal objects and remove magnetic mounts.
Chasing the last decimal
Many apps show very precise numbers, but your real-world setup may not support that precision. Focus on repeatable readings and verify with a physical tool when the project demands tight tolerances.
How inclinometer readings work (a simple iOS example)
If you’re curious how a level/inclinometer can be built, iOS provides device motion data via Core Motion. The concept is straightforward: read the gravity vector and convert it to an angle. Here’s a simplified snippet (for learning purposes) that calculates pitch and roll in degrees from device attitude:
import CoreMotion

let motion = CMMotionManager()
motion.deviceMotionUpdateInterval = 1.0 / 60.0

motion.startDeviceMotionUpdates(to: .main) { data, error in
    guard let attitude = data?.attitude else { return }

    // Radians to degrees
    let rollDeg = attitude.roll * 180.0 / .pi
    let pitchDeg = attitude.pitch * 180.0 / .pi

    print(String(format: "Roll: %.2f°, Pitch: %.2f°", rollDeg, pitchDeg))
}
Production-grade measurement apps add filtering (to reduce jitter), calibration offsets, and UI cues (like dual-axis bubbles) to make these readings practical on real projects.
Choosing the right iOS measurement app: feature checklist
Not all “multi-tool” apps are built the same. When evaluating an all-in-one measurement app on iOS, look for:
- Offline functionality: core tools should work without internet for reliability.
- Dual-axis leveling: helps confirm level in two directions, useful for appliances and mounts.
- Clear calibration controls: ideally with guidance and persistent offsets.
- Readable UI: large digits, high contrast, stable indicators, and optional sound/vibration cues.
- Tool breadth without clutter: switching tools should be quick, not buried in menus.
- No recurring paywall for basics: measurement tools are most useful when always available.
Quick-reference: a repeatable measurement workflow
Use this workflow to reduce errors across DIY and field tasks:
- Stabilize the phone: remove wobble, pick a flat contact point.
- Calibrate: do a quick flip test if precision matters.
- Measure twice: take two readings a few seconds apart to confirm stability.
- Verify directionally: check both axes (left-right and front-back) for level tasks.
- Cross-check critical work: use a known physical reference for high-stakes cuts or installs.
Final thoughts
A well-designed all-in-one measurement setup on iOS can meaningfully reduce friction in DIY, home improvement, and offline navigation—especially when you treat calibration and placement as part of the process. Used thoughtfully, it’s a reliable “first line” tool for layout, checking, and verification.
If you’re looking for a single offline iOS app that combines multiple sensor-based tools in one place, Level Tool is one option that packages common measurement features into a unified toolkit.
