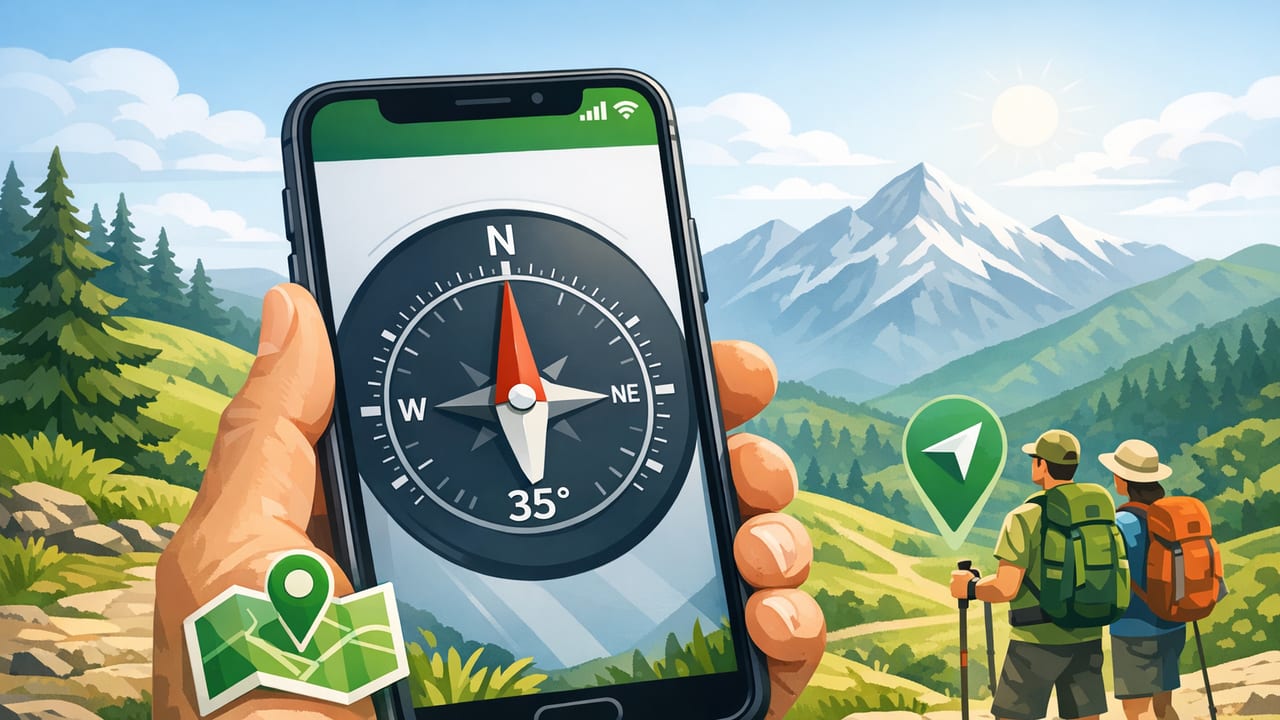
An accurate compass app for hiking can be a genuine navigation tool—not just a novelty—when you understand what “accuracy” means on a phone and how to set it up correctly. Modern iPhones combine multiple sensors (magnetometer, accelerometer, gyroscope, GPS) to estimate heading and movement. Used well, a compass app can help you follow a bearing to a pass, confirm the direction of a ridgeline, or keep your route consistent in low visibility.
This guide explains how compass accuracy works, how to calibrate for real trails, what to look for in an app, and how to use a phone compass safely alongside traditional navigation.
What “accurate” means for a compass app
On a hiking compass, “accurate” usually means the needle points reliably to magnetic north and the bezel lets you hold a consistent bearing. On a phone, accuracy is more nuanced because the device must infer heading from sensors that can be affected by environment and how you hold the phone.
- Heading accuracy: how close the app’s displayed bearing is to true/magnetic direction (e.g., 040°).
- Stability: how much the bearing “jumps” when you stand still. A stable readout is often more useful than a twitchy one.
- Repeatability: if you take a bearing, move away from interference, and take it again, you should get the same result.
- Usability in the field: big numerals, lockable bearings, low-light readability, and offline function matter as much as raw sensor precision.
Field rule: The best compass reading is the one you can reproduce. If your phone shows 312°, you should be able to step away, re-check, and still see roughly 312°—not 290° one moment and 340° the next.
How phone compass sensors work (and why they drift)
A typical iPhone compass uses a magnetometer to sense Earth’s magnetic field and a combination of gyroscope and accelerometer to estimate orientation and smooth motion. GPS can help with course-over-ground when you’re moving, but GPS alone doesn’t provide a reliable heading while standing still.
Common causes of compass inaccuracy on hikes
- Magnetic interference: power lines, metal bridges, vehicles, trailhead benches, rebar in viewpoints, or even your trekking poles (some tips contain metal close to the phone).
- Phone case accessories: magnetic mounts, MagSafe wallets, or metal rings can distort the magnetometer.
- Nearby electronics: action cameras, headlamps with magnets, radios, or another phone pressed against yours.
- Holding angle: some apps are optimized for “flat in palm” vs “upright like a sign.” Switching back and forth can change readings if the app doesn’t handle tilt well.
- Local geology: iron-rich rocks can create small anomalies. Usually minor, but near certain formations it can be noticeable.
Choosing an accurate compass app for hiking (feature checklist)
Many apps display a compass rose; fewer are designed for real navigation decisions outdoors. Use this checklist when evaluating options.
1) Clear heading + bearing lock
Look for large degree readouts and the ability to lock a bearing so you can follow it while walking (instead of constantly trying to remember a number).
2) True north vs magnetic north + declination support
Topographic maps are usually referenced to true north, while a magnetometer senses magnetic north. The difference between them is magnetic declination, and it varies by location. A hiking-ready compass app should let you:
- switch between True and Magnetic north, or
- apply a declination correction automatically or manually.
3) Offline usability
Signal drops are normal on trails. An accurate compass app for hiking should still function offline (magnetometer-based heading doesn’t need internet). If the app also includes maps, confirm you can download regions for offline use.
4) Calibration prompts and accuracy indicators
Better apps show an accuracy status (e.g., “low/medium/high”) or provide guidance when the magnetometer needs recalibration.
5) Altitude/pressure and other utility tools (optional)
Not required for a compass, but outdoor-friendly apps often include extras like barometer/altimeter readouts, which can help you cross-check where you are on a contour map.
Quick comparison: what impacts compass accuracy most?
| Factor | How it affects the compass | Best practice on trail |
|---|---|---|
| Magnetic/metal objects | Skews the magnetometer; headings jump or bias | Step 10–20 feet away from metal, remove magnetic accessories |
| Declination | Systematic offset between map bearings and compass bearings | Set declination (or choose true north) before the hike |
| Calibration state | Poor calibration causes drift and inconsistent bearings | Recalibrate at the trailhead and after big temperature/gear changes |
| How you hold the phone | Tilt can alter readings if the app doesn’t compensate well | Use a consistent position (flat or upright) and stick to it |
| Movement speed | GPS course can stabilize heading while walking, but not when still | Check bearings while standing still; verify again while moving slowly |
How to calibrate a phone compass for hiking
Calibration aligns the magnetometer to your phone’s physical orientation and helps correct for small internal biases. The exact method depends on the app and iOS prompts, but the field workflow is similar.
- Remove interference first: take off MagSafe wallets, magnetic rings, and move away from cars or metal picnic tables.
- Restart the app: if the heading seems “stuck” or wildly unstable, fully close and reopen the app.
- Perform the calibration motion: many apps use a figure-eight motion; some guide you to rotate the phone around multiple axes. Move smoothly—fast shaking can make results worse.
- Validate with a known direction: compare against a trail map’s landmark alignment (e.g., a ridge line you can see) or a physical compass if you carry one.
- Re-check after transitions: if you put the phone in a pocket next to metal items, attach it to a magnetic mount, or hike near strong interference, recalibrate.
A simple “sanity test” at the trailhead
- Stand still, hold the phone steady, and note the bearing.
- Turn your body 90° and back; the compass should return to the original bearing.
- Walk 20–30 steps away from the parking area and repeat (cars and signs can distort readings).
Declination made practical (without the math headache)
Declination is the angle between true north and magnetic north at your location. If your app is set to magnetic north but your map bearings are true (common on topo maps), you’ll be off by the declination amount—enough to miss a junction in fog.
Practical options:
- Set the app to True North when you’re using topo maps and plotting true bearings.
- Or set a declination value so the app displays corrected bearings.
If you’re unsure, keep it simple: match your compass app’s north reference to your map’s reference. Consistency prevents mistakes.
How to take and follow a bearing with your phone
Once calibrated and set to true/magnetic correctly, use a repeatable method.
Step-by-step bearing workflow
- Pick a clear target: a peak, saddle, distinct tree line, or notch in the ridge. Avoid vague “somewhere in the forest” targets.
- Hold the phone consistently: choose flat-in-palm or upright-and-forward. Keep it the same for the whole bearing.
- Read the bearing: note the degrees (e.g., 072°). If your app supports it, lock the bearing.
- Walk to intermediate landmarks: follow the bearing to a visible point 50–200 meters away, then repeat. This reduces accumulated error.
- Re-check frequently: especially in dense trees, ravines, or when you detour around obstacles.
Using the sun as a quick cross-check
A compass app can fail silently if interference is present. A simple cross-check is to compare the app’s direction with what you expect from time-of-day sun position (east-ish morning, west-ish evening). It’s not precise, but it can catch an obvious 90° or 180° error.
Offline hiking: what still works without service?
A phone compass can remain accurate offline because it relies on local sensors. What changes is your ability to load maps, search place names, or retrieve updated declination automatically.
- Works offline: magnetometer compass heading, stored waypoints, downloaded maps (if the app supports downloads), barometer/altimeter estimates (where available).
- May degrade offline: location precision in deep canyons (GPS can be slower to lock), declination lookup if the app depends on online services, map tile loading if not downloaded.
Offline prep checklist
- Download maps for the entire route plus a buffer area.
- Screenshot key map sections (trailhead, major junctions, bailout routes).
- Pack a power strategy: low power mode, airplane mode when appropriate, and an external battery for long days.
- Store emergency coordinates format you understand (decimal degrees is common).
Common mistakes that make a compass app feel “inaccurate”
- Checking heading next to your car: parked vehicles are a classic source of magnetic distortion.
- Using a magnetic phone accessory: even a small magnet can bias readings.
- Not accounting for declination: your compass may be “accurate” but referenced to the wrong north.
- Trusting a single reading: take two readings from slightly different positions and look for agreement.
- Confusing heading with direction of travel: if you’re standing still, GPS course is unreliable; trust the compass heading (after calibration) or move slowly to stabilize.
Optional: a tiny iOS snippet (how apps get compass heading)
If you’re curious why different apps behave differently, here’s the basic approach most iOS compass tools use: Core Location heading updates. (Apps then filter and smooth this data in different ways.)
import CoreLocation

final class HeadingDemo: NSObject, CLLocationManagerDelegate {
    private let manager = CLLocationManager()

    override init() {
        super.init()
        manager.delegate = self
        manager.requestWhenInUseAuthorization()

        if CLLocationManager.headingAvailable() {
            manager.headingFilter = 1 // degrees of change before update
            manager.startUpdatingHeading()
        }
    }

    func locationManager(_ manager: CLLocationManager, didUpdateHeading newHeading: CLHeading) {
        // magneticHeading: relative to magnetic north
        // trueHeading: relative to true north (if location is known)
        let heading = newHeading.trueHeading > 0 ? newHeading.trueHeading : newHeading.magneticHeading
        print("Heading: \(heading) degrees")
    }
}
Safety note: don’t let an app replace good judgment
A compass app is a tool, not a guarantee. In poor visibility or off-trail terrain, bring redundancy: a basic baseplate compass, a paper map, and the skills to use them. If your phone gets cold-soaked, wet, or the battery fails, your navigation plan should still work.
That said, a well-configured phone compass can be a practical part of a layered navigation system—especially when it’s offline-capable and gives you stable bearings.
Putting it all together
To get the most from an accurate compass app for hiking:
- Calibrate away from metal and magnetic accessories.
- Set the correct north reference (true vs magnetic) and handle declination consistently.
- Use repeatable technique: steady hold, bearing lock if available, and intermediate landmarks.
- Prepare for offline use: downloads, screenshots, battery strategy.
- Cross-check readings and carry a backup for serious routes.
If you prefer an offline measurement toolkit that includes a compass alongside other utility instruments, an iOS app like Level Tool can be one way to keep several essentials in one place—just remember that technique and setup are what make any compass truly dependable on the trail.
