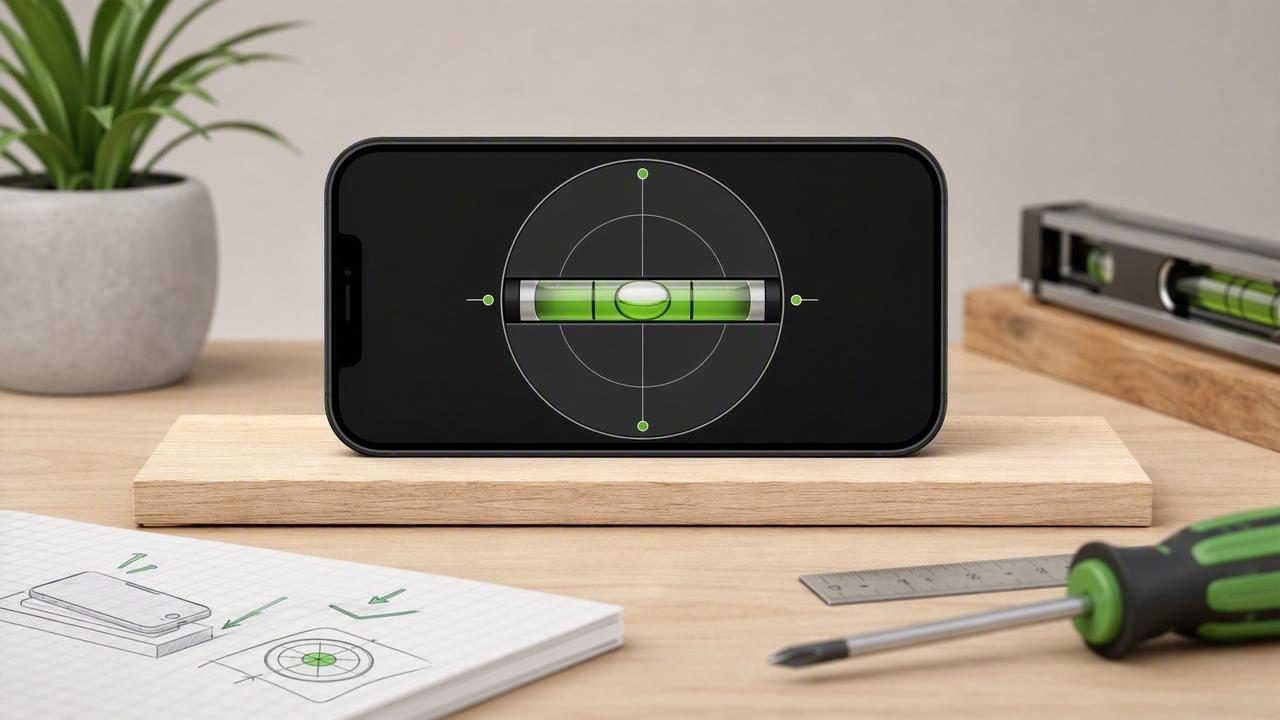
An accurate bubble level iPhone setup can be useful for many everyday tasks, from checking a shelf to confirming that a washing machine is sitting evenly. Modern iPhones include motion sensors that can detect tilt and orientation, making them practical digital leveling tools when used carefully.
However, an iPhone is not automatically accurate simply because it displays a level reading. The result depends on calibration, how the phone touches the surface, the stability of the object being measured, and the tolerance you choose for the job. A phone level is especially helpful for home improvement, furniture setup, RV checks, and basic angle measurement, but it should be used with realistic expectations.
This guide explains how to improve repeatability, avoid common errors, and use an iPhone bubble level more confidently during DIY work.
What Makes an iPhone Bubble Level Accurate?
A traditional spirit level uses a liquid vial and air bubble. An iPhone bubble level instead uses internal motion sensors to estimate the device's orientation relative to gravity. When the phone lies flat or rests against a surface, the app converts sensor data into a visual bubble, degree value, or both.
For practical work, accuracy is not only about the number shown on screen. It is also about whether you can place the phone in the same position and receive a consistent reading. That is called repeatability.
For example, if you place your iPhone on a shelf, see a reading of 0.4°, lift it, and place it back in the same location, a repeatable setup should return a similar result. If the number changes substantially, the issue may be the phone's contact point, a moving surface, hand pressure, or an uneven case rather than the shelf itself.
The main factors that affect readings
- Calibration: A reference calibration helps align the app with a known level or chosen reference surface.
- Phone contact: The device must rest firmly and consistently against the surface being checked.
- Phone case shape: Raised edges, camera bumps, and flexible cases can stop the phone from sitting flat.
- Surface condition: Dust, grout lines, curved boards, and textured materials can change the resting angle.
- Movement: A vibrating appliance, a settling ladder, or a hand-held phone can create unstable readings.
- Tolerance: Not every task requires a perfect 0.0° reading.
Start With a Stable Reference Surface
Before using an iPhone level for a project, choose a reliable reference. A sturdy countertop, a known level workbench, or a surface previously checked with a quality physical level can be useful. Avoid assuming that a floor, windowsill, or old shelf is level without checking it first.
If your leveling app offers calibration, place the iPhone on the reference surface and follow the in-app process. This establishes the reference point that the app uses for future readings. Calibration is particularly useful after changing cases, updating your device setup, or noticing readings that do not appear repeatable.
It is important to understand what calibration does not do. It does not repair a warped shelf, compensate for a curved phone case, or certify that the reference surface is truly level. It only tells the app to treat the selected reference as the baseline.
Use the flip test to check repeatability
A simple way to test your setup is to compare readings after rotating the phone 180 degrees on the same surface.
- Place the iPhone flat on a clean, stable surface.
- Wait for the reading to settle and note the displayed angle.
- Rotate the phone 180 degrees while keeping it in the same location.
- Wait again and compare the result.
If the readings are close, your setup is likely repeatable. If they differ noticeably, remove the case, clean the surface, reposition the phone, and test again. Use the same part of the phone against the surface each time when possible.
Practical rule: Trust a reading more when you can reproduce it from more than one placement, rather than relying on a single quick check.
Make Actual Contact With the Surface
For an accurate bubble level iPhone reading, the device must make meaningful physical contact with the item being checked. A level app cannot accurately assess a board if the phone is hovering above it, resting partly on an obstacle, or bridged over a dip in the material.
When measuring a horizontal surface, lay the phone flat with the back of the device resting naturally on the workpiece. When checking a vertical surface, place a straight edge of the phone against a clean, reasonably flat area. Do not press so hard that you move a lightweight object or flex a thin panel.
Remove the case if it has thick corners, a prominent camera surround, a ring stand, or uneven grips. These can create a small gap that changes the phone's angle. If you prefer to keep the case on, test the result against the bare phone on the same reference surface and look for a consistent difference.
Common contact problems
| Problem | Why It Affects the Reading | Better Approach |
|---|---|---|
| Raised phone case edges | The phone may tilt instead of lying flat. | Remove the case or use a flat contact area. |
| Camera bump | The back may not rest evenly on narrow surfaces. | Use a wider surface or check with a straight board. |
| Dust or debris | Small particles can create a measurable tilt. | Wipe both the phone and the work surface. |
| Uneven tile or grout | The phone can bridge across high and low points. | Check several positions or use a straightedge. |
| Hand-held measurement | Small movements prevent a settled reading. | Rest the phone against the object before reading. |
Choose a Tolerance That Matches the Job
Many DIY tasks do not require an absolutely perfect 0.0°. A useful level app may let you set a target angle or tolerance, helping you see when the measured surface is close enough for the task. A tolerance is the acceptable range around a target, not a claim that the surface is mathematically perfect.
For instance, a wall shelf may look and function level within a small tolerance, while a drainage surface may need a deliberate slope rather than a level reading. The correct target depends on the project.
| Task | Typical Goal | What to Check |
|---|---|---|
| Hanging a picture rail | Near level | Check the rail after final tightening. |
| Adjusting furniture feet | Stable and level enough | Measure in both directions where practical. |
| Setting a workbench | Repeatable level reference | Check several points across the top. |
| Checking a ramp or slope | Specified angle or grade | Use the angle reading, not just the bubble. |
| Installing a drainage surface | Intentional fall | Set the required target before checking. |
Sound and haptic feedback can be helpful when you are adjusting an object with both hands. Rather than looking repeatedly at the screen, you can focus on the adjustment and use feedback to indicate when you are close to the selected target. Still, pause to visually confirm the final measurement once the object is stable.
Concrete Example: Leveling a Freestanding Shelf
Suppose a freestanding shelf leans slightly after being moved. You want the top surface level enough for books and decor without guessing from appearance alone.
- Place the shelf on its final floor position. Do not level it somewhere else and then drag it into place.
- Remove loose items from the top so their weight does not shift while you work.
- Place the iPhone flat near the center of the shelf top and allow the reading to settle.
- Adjust one foot gradually, then recheck at the same contact point.
- Move the phone toward the left and right sides. A consistent result suggests the shelf top itself is reasonably flat.
- Rotate the phone and repeat the check to confirm repeatability.
- Check the second direction if the shelf can lean front to back as well as side to side.
This example has limits. If the shelf top is warped, the center and outer edges may legitimately show different angles. The phone can reveal that variation, but it cannot determine which point is the only correct one. In that situation, prioritize stability, follow the furniture manufacturer's guidance, and use multiple readings rather than chasing one number.
When an iPhone Level Is Useful—and When It Is Not Enough
An iPhone level is well suited to quick checks, household adjustments, basic layout work, and angle comparisons. It is convenient because the phone is already in your pocket, and offline functionality can be valuable in garages, workshops, campsites, and locations with poor reception.
It is not a substitute for every specialized instrument. Avoid treating a phone reading as certified accuracy for regulated, structural, surveying, or safety-critical work. For a critical installation, use the tools and methods required by the job, relevant building rules, and manufacturer instructions.
Also remember that a level app measures device orientation through physical contact. It does not measure dimensions from a photograph, scan a room for distance, or project a real laser line onto a wall. For best results, use it as a practical digital level and angle meter—not as a replacement for tools it does not claim to be.
Quick Checklist for Better iPhone Level Results
- Calibrate against a trusted reference when needed.
- Use a clean, stable, and reasonably flat contact surface.
- Remove a case that prevents even contact.
- Let the reading settle before adjusting anything.
- Check more than one location on long or uneven surfaces.
- Repeat the reading after rotating the phone 180 degrees.
- Set a realistic target and tolerance for the specific task.
- Use a professional physical tool when the work demands documented or safety-critical precision.
Use Your iPhone Level With More Confidence
The key to an accurate bubble level iPhone measurement is not watching for a perfectly centered graphic alone. Reliable DIY results come from reference calibration, steady contact, repeatable placement, and a tolerance that fits the task. By checking readings in more than one position and understanding the limits of the phone-based measurement, you can make faster, more informed adjustments around the home or workshop.
For a closer look at using an iPhone as an angle tool, Level Tool's practical guide to measuring angles on iPhone explains how targets, calibration, and stable placement support more consistent readings.
