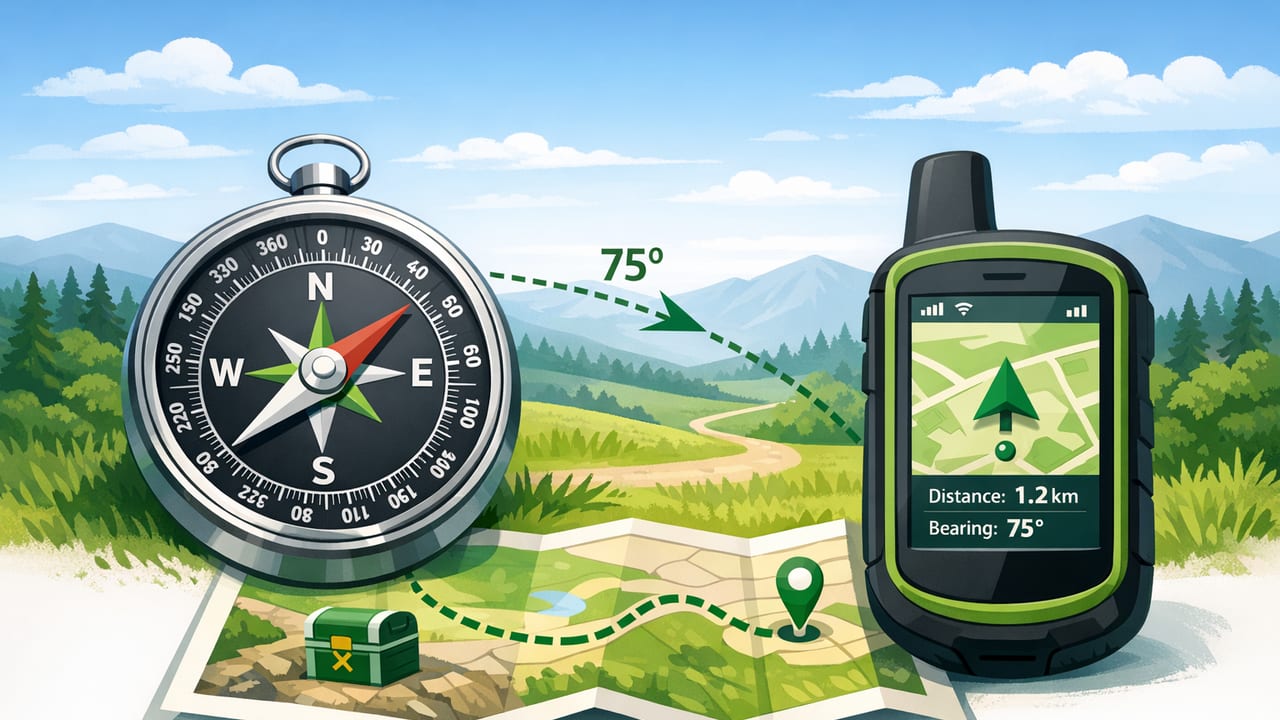
Geocaching often comes down to one deceptively simple question: “Which way do I go?” If your compass bearing is off by even a few degrees, you can miss a cache by dozens of meters—especially in thick forest, ravines, or urban canyons where GPS can drift. This guide focuses on how to get accurate bearings for geocaching trips using an iPhone, with practical steps you can repeat in the field.
You’ll learn how phone compasses actually work, how to reduce common error sources (metal interference, bad calibration, poor stance), how to account for map vs compass bearings, and how to combine compass + GPS in a dependable workflow—online or offline.
What “bearing accuracy” really means in geocaching
A bearing is a direction expressed as an angle (0–360°) relative to north. In geocaching, bearings are used for:
- Projection (e.g., “Go 120 m at 310°”).
- Field navigation when GPS distance is jumpy (common under trees).
- Multi-cache stages that provide bearings and distances.
- Triangulation (taking multiple bearings to narrow a location).
Accuracy has two components:
- Direction accuracy: how close your measured bearing is to the true intended direction.
- Practical accuracy: whether your method consistently gets you to the right search area.
Rule of thumb: A 5° bearing error over 200 m produces ~17 m of sideways miss distance. That can be the difference between “found it” and “where is it?”
How the iPhone compass gets a heading (and why it drifts)
Your iPhone estimates heading by combining data from multiple sensors:
- Magnetometer (measures Earth’s magnetic field): sensitive to nearby metal and electronics.
- Gyroscope + accelerometer (orientation and motion): helps smooth and stabilize readings.
That’s powerful, but it also means your reading can be wrong for reasons that have nothing to do with your skill—like a hidden steel beam, your car keys, or even the phone case magnet.
Magnetic vs true north: declination matters (sometimes)
Many geocaching clues, topo maps, and orienteering workflows reference true north, while a phone’s raw compass is usually closer to magnetic north (unless your app corrects it). The difference is magnetic declination, which varies by location.
When you must care
- Projection tasks given in true bearings (common with maps and some cache instructions).
- Longer legs (hundreds of meters to kilometers), where small errors compound.
When you can ignore it
- Short-distance “walk toward the arrow” approaching the cache, where GPS + visual search dominate.
- Urban micro hunts where the last 20–30 m are mostly obstacle-based.
If you’re unsure, treat any published bearing as true unless the cache explicitly says “magnetic.” You can look up declination for your area before the trip and keep a note (example: “declination +8°E”).
Common causes of bad bearings (and how to fix them)
| Problem | What it looks like | Fix |
|---|---|---|
| Magnetic interference | Heading swings, won’t settle, differs by 20–60° | Step away from cars, fences, rebar, manholes; remove magnetic case/accessories |
| Poor calibration | Consistently “off” even in open areas | Recalibrate (figure-8), restart compass app, keep phone level |
| Tilting the phone | Different heading at different angles | Use a level stance; keep the phone flat/consistent orientation |
| Body + gear interference | Heading changes when you shift your backpack or move your hands | Hold phone away from belt buckle, trekking poles, radios; rotate your whole body |
| GPS drift (not compass) | Arrow points different direction each update | Pause and let GPS settle; use compass-only bearing or average multiple readings |
| Local anomalies | Compass seems “cursed” in a spot | Move 10–30 m and re-check; rely on map features and multiple bearings |
A reliable field workflow for accurate bearings
This workflow is designed for repeatability—so you can trust your bearing even when conditions are noisy.
1) Start in a “clean” spot
Before taking a bearing, move away from obvious metal and electricity sources:
- Cars, guardrails, steel bridges, bleachers, chain-link fences
- Large rocks with iron content (rare, but possible)
- Power boxes, transformers, buried infrastructure near sidewalks
2) Calibrate quickly (only as needed)
If the heading is jumpy or inconsistent, recalibrate. Most compass tools prompt a simple motion pattern (often a figure-8). Don’t overdo it—calibrate when readings degrade.
3) Standardize your hold and stance
- Hold the phone at chest height, screen facing up (or consistent with your app’s guidance).
- Keep elbows slightly out to reduce body interference.
- Turn your whole body to align—don’t twist the phone independently.
4) Average multiple readings
Take 3–5 quick readings a few seconds apart, especially under tree cover. If you see 302°, 304°, 303°, 303°, you can confidently use ~303°. If you see 280° then 340°, you have interference—move and retry.
5) Use a “far target” technique
Instead of staring at the degree value while walking, pick a distant object in line with your bearing (a distinctive tree, boulder, trail sign). Walk to that object, then re-shoot the bearing. This dramatically reduces zig-zagging and “compass chasing.”
6) Combine compass direction with GPS distance (smartly)
GPS is great for distance trending even when direction is shaky. A strong approach is:
- Use the compass to establish direction and pick a far target.
- Walk steadily until GPS distance decreases consistently.
- If distance increases or oscillates wildly, stop in a clear area and re-check heading.
Triangulation: a powerful backup when the arrow lies
When GPS jumps around (dense canopy, cliffs, downtown), triangulation can save a hunt. The idea: take bearings from two or three known positions to the suspected cache area.
Simple triangulation steps
- Stand at Position A (a known point on a trail or map feature) and take a bearing toward the cache target direction.
- Walk 30–100 m to Position B (ideally along a trail) and take a second bearing.
- Where the lines would intersect is your best estimate. Move toward that area and refine.
If you’re using an offline map app, you can even sketch the lines visually by noting the bearings and aligning them with the map’s north reference.
Projection math (with declination correction)
Some multi-caches give instructions like “From Stage 2, go 150 m at 045°.” If the bearing is true and your compass is magnetic, apply declination.
- If declination is East (e.g., +8°E): Magnetic = True − 8°
- If declination is West (e.g., 10°W): Magnetic = True + 10°
Keep results within 0–360° by adding/subtracting 360 if needed.
// Quick bearing adjustment helpers (conceptual)
func normalize(_ deg: Double) -> Double {
  var d = deg.truncatingRemainder(dividingBy: 360)
  if d < 0 { d += 360 }
  return d
}

// East declination is positive (+E), West is negative (-W)
func trueToMagnetic(trueBearing: Double, declinationDeg: Double) -> Double {
  // Magnetic = True - declination (when declination uses +E / -W sign)
  return normalize(trueBearing - declinationDeg)
}
Best practices for offline geocaching navigation
Accurate bearings for geocaching trips get easier when you’re not fighting connectivity issues. A few offline habits help:
- Download offline maps for the area and verify they load in airplane mode.
- Save cache details (description, hint, parking coords) before you lose signal.
- Carry a small power bank—sensor use plus screen time drains batteries quickly.
- Use a consistent north reference across tools (true vs magnetic) to avoid silent errors.
Quick checklist: the “clean bearing” routine
- Move away from metal and power sources (10–30 m).
- Remove magnetic accessories/case if readings are unstable.
- Calibrate only when necessary.
- Hold the phone consistently (level, chest height).
- Average 3–5 readings.
- Pick a distant target and walk to it; repeat.
- Cross-check with GPS distance trend and terrain clues.
FAQ
Why does my bearing change when I start walking?
Often it’s a mix of sensor smoothing, subtle phone tilt changes, and nearby metal (keys, belt buckle, trekking pole tips). Stop, hold the phone steady, and re-check. If it keeps drifting, relocate and recalibrate.
Should I trust “heading” more than a map arrow?
Trust whichever is more stable in your environment. In forests, compass heading can be better than GPS direction. In urban areas, compass can be distorted; map + landmarks may be more reliable.
Do I need a dedicated compass?
Not always. A dedicated baseplate compass is excellent for consistent true/magnetic workflows and doesn’t suffer battery issues, but a well-handled iPhone compass can be highly effective if you manage interference and calibration.
Putting it all together
Getting accurate bearings for geocaching trips is less about having “the best compass” and more about using a repeatable process: control interference, standardize how you hold the phone, average readings, and use terrain-aware techniques like far targets and triangulation. When you do, bearings become a dependable tool—not a frustrating guessing game.
If you like keeping multiple measurement and navigation tools available offline in one place, a professional iOS toolkit such as Level Tool can be a convenient way to access compass-style headings alongside other field utilities.
